
Below are the are the details, dimensions, assembly instructions, and purchasing link for the Reptile Tray.
Note: These will come un-assembled so you’ll need to follow the directions in the below “Assembly Instructions” section to put them together (think IKEA).
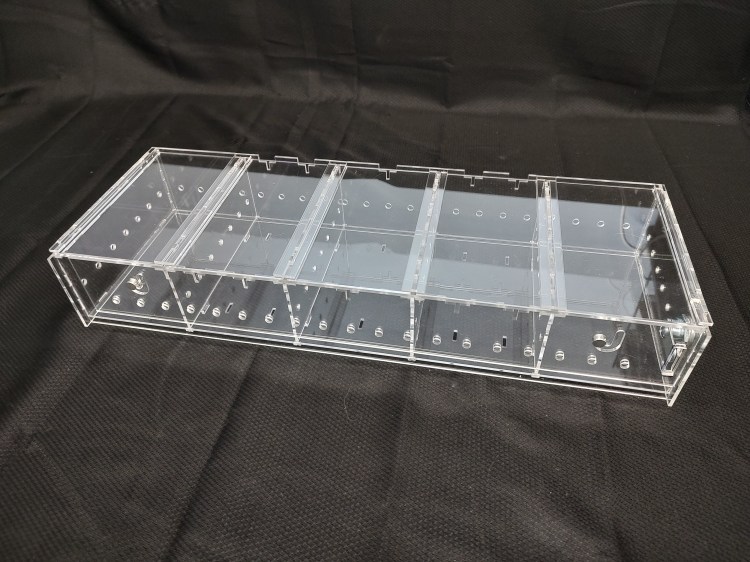

Display Details
– These trays are laser cut from UV stabilized, 1/8″ thick clear acrylic.
– The laser cutting ensures all edges are just as clear as the faces.
– The UV stabilization means the material will not yellow or breakdown in sunlight and
does not react to UV-A, UV-B, or UV-C light.
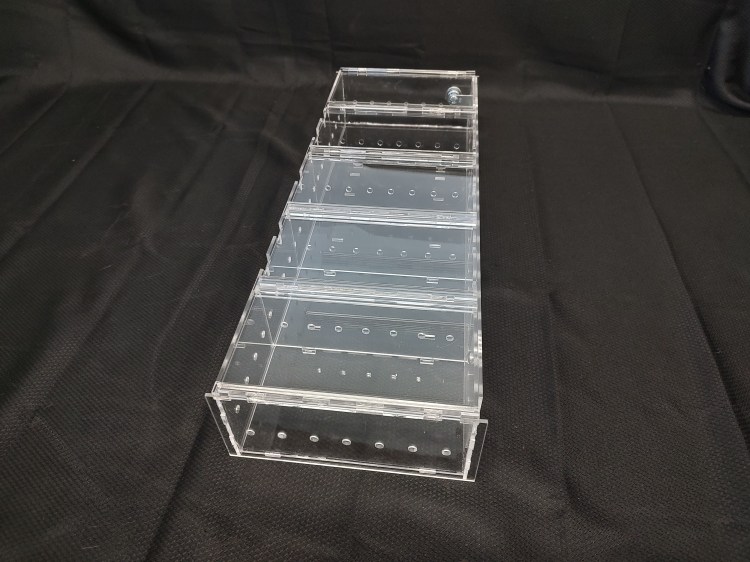
– Each compartment can be separately accessed via the top panels.
– All the top panels can be locked in the closed position using the locking bar and cabinet
lock.
– There are 1/4″ diameter holes along all sides (top and bottom are solid) of each
compartment to allow for air flow.
Dimensions

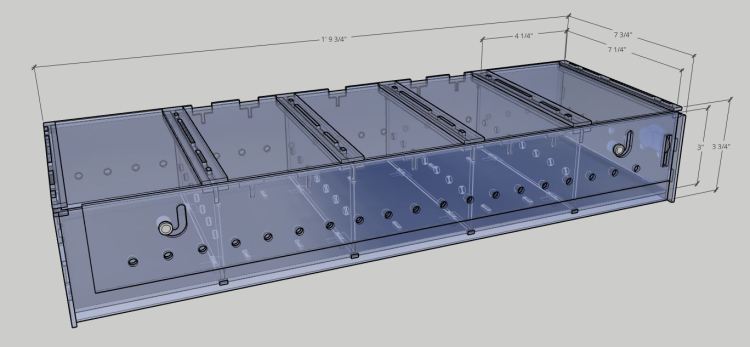
The overall dimensions are 21.75″ wide (not including key lock), 7.75″ deep, and 3.75″ tall.
The 5-drawer configuration has (x5) compartments that are each roughly 4.25″ wide, 7.25″ deep, and 3″ tall.
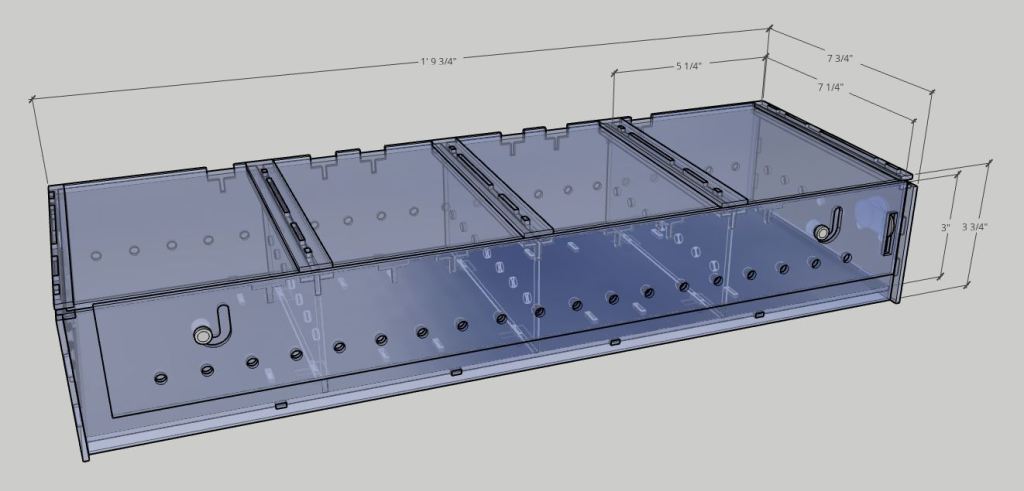
The 4-drawer configuration has (x4) compartments that are each roughly 5.25″ wide, 7.25″ deep, and 3″ tall.
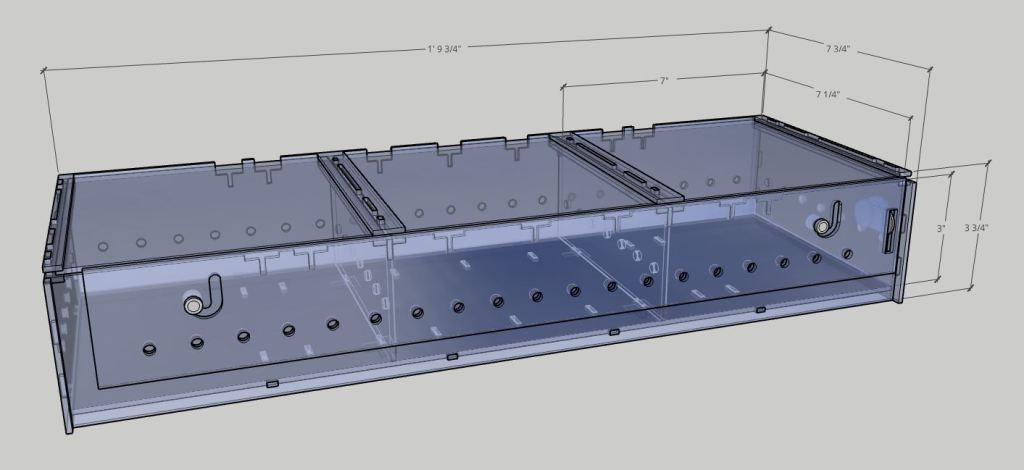
The 3-drawer configuration has (x3) compartments that are each roughly 7″ wide, 7.25″ deep, and 3″ tall.

The 2-drawer configuration has (x2) compartments that are each roughly 10.75″ wide, 7.25″ deep, and 3″ tall.

Three of the Reptile Trays will fit into a standard carrying case with at least 1/4″ of space on all sides and extra space in the front.
Purchasing
Note: Shipping for the Reptile Trays is not included in the below pricing. Shipping is $22 for the first tray and $4 for each additional tray. Shipping will be billed via a separate invoice.
(x1) Reptile Tray (convertible)
Includes: All acrylic pieces (x1) acrylic cement tube (x2)binding posts (x1)key lock
$150.00
Non-Acrylic Components
This design uses binding posts to hold the locking panel in place while a drawer lock is used to lock the lids (and locking panel) in place. Acrylic cement is used to keep the pieces permanently together and rigid.
If you would like to purchase the below hardware & cement on your own, please send me a message and I’ll send you an invoice for just the acrylic pieces ($130 each) for the number of Reptile Trays you are needing plus the shipping costs.
(x2) 3/16″ x 1/4″ long Binding Posts (Home Depot)
(x1) 5/8″ Drawer Lock with x2 keys (Home Depot)
(x1) 1.5oz tube of Weld-On #5 (Delvie’s Plastics)
Assembly Instructions
Note: These assembly instructions show the pieces with their protective paper still attached. This is done in order to facilitate easier part identification. You’ll need to remove the paper before assembling and gluing.
Before assembling with glue, I would suggest doing a dry run and practice just putting the pieces together. When gluing, keep in mind that the glue is basically super glue and it will dry within 5-6 minutes. I suggest using a q-tip to apply to glue to the desired surfaces for increased accuracy.
I would also suggest having a solid, 90deg corner to use as a support when assembling the shelf to ensure all sides are square/perpendicular to each other. Do not try and force pieces, they should fit together easily with the pre-cut tabs and slots. Acrylic is strong but also brittle, and will break if you try and force pieces together. If something is not fitting together as it should and you think a piece is cut incorrectly, send me a message and we will figure it out.
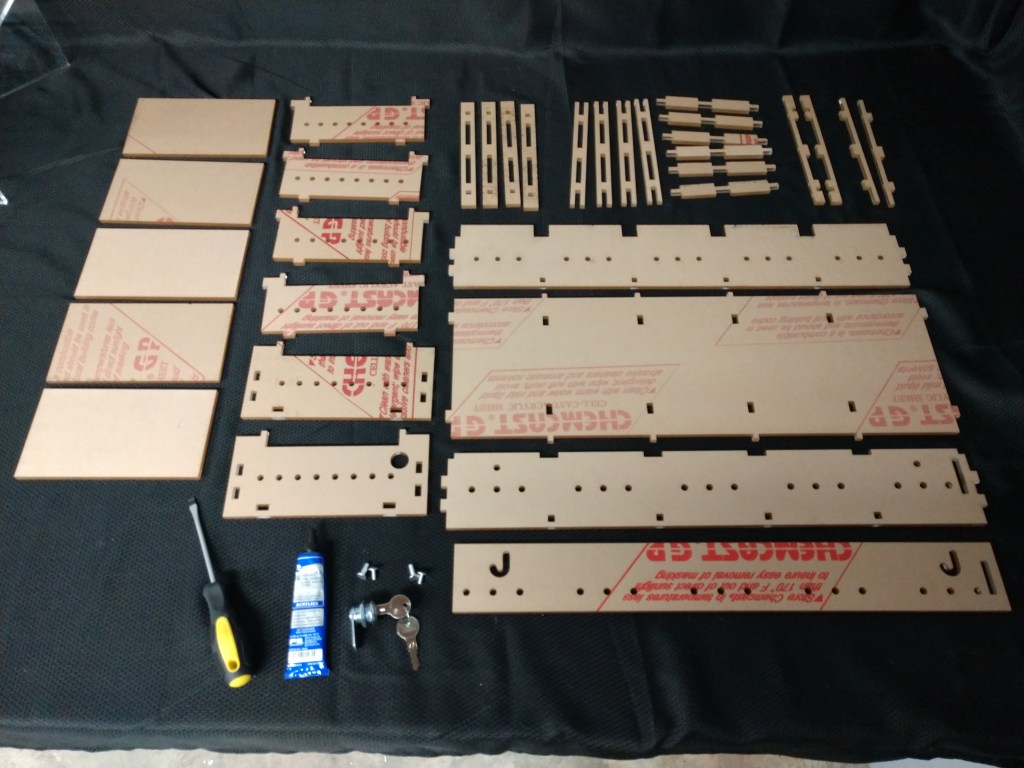
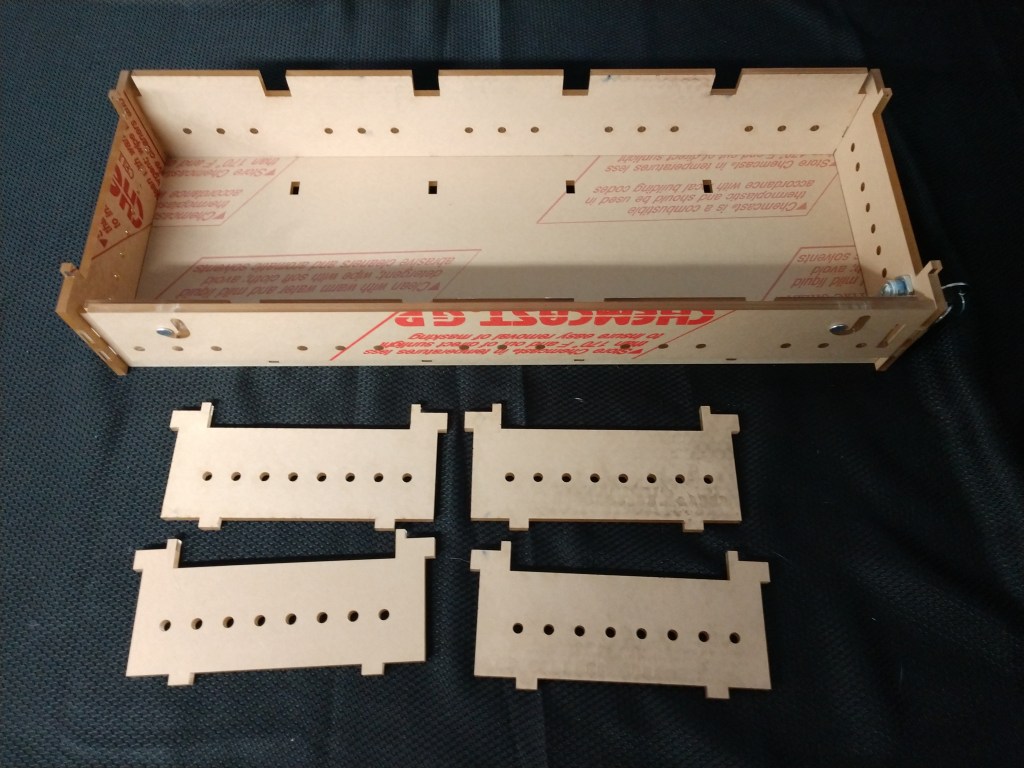
Step 0
Lay out all the acrylic pieces, hardware, and acrylic cement. You’ll also need a flat head screwdriver for attaching/securing the hardware and lock mechanism. This step-by-step will show the assembly of the (x5) compartment configuration.
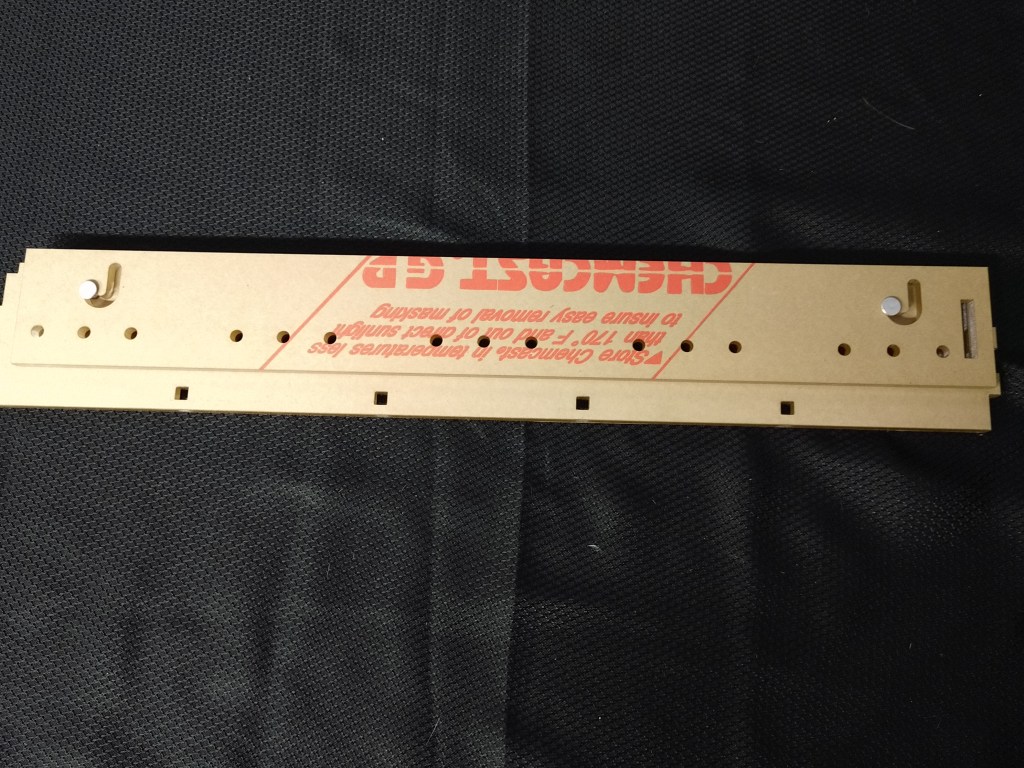
Step 1
Secure the front panel to the locking panel using the binding posts. The binding posts will go through the “J” cutout of the locking panel and the top hole on the left and right side of the front panel. Orient the binding posts so the flat side is facing out and the screw is facing inside.

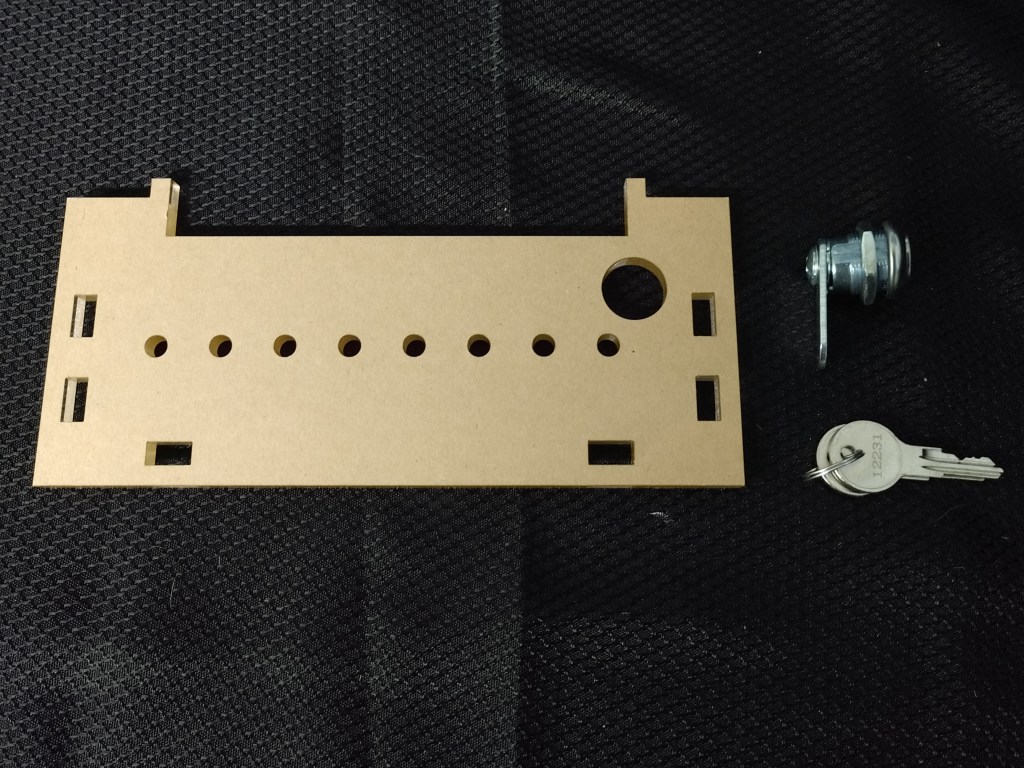
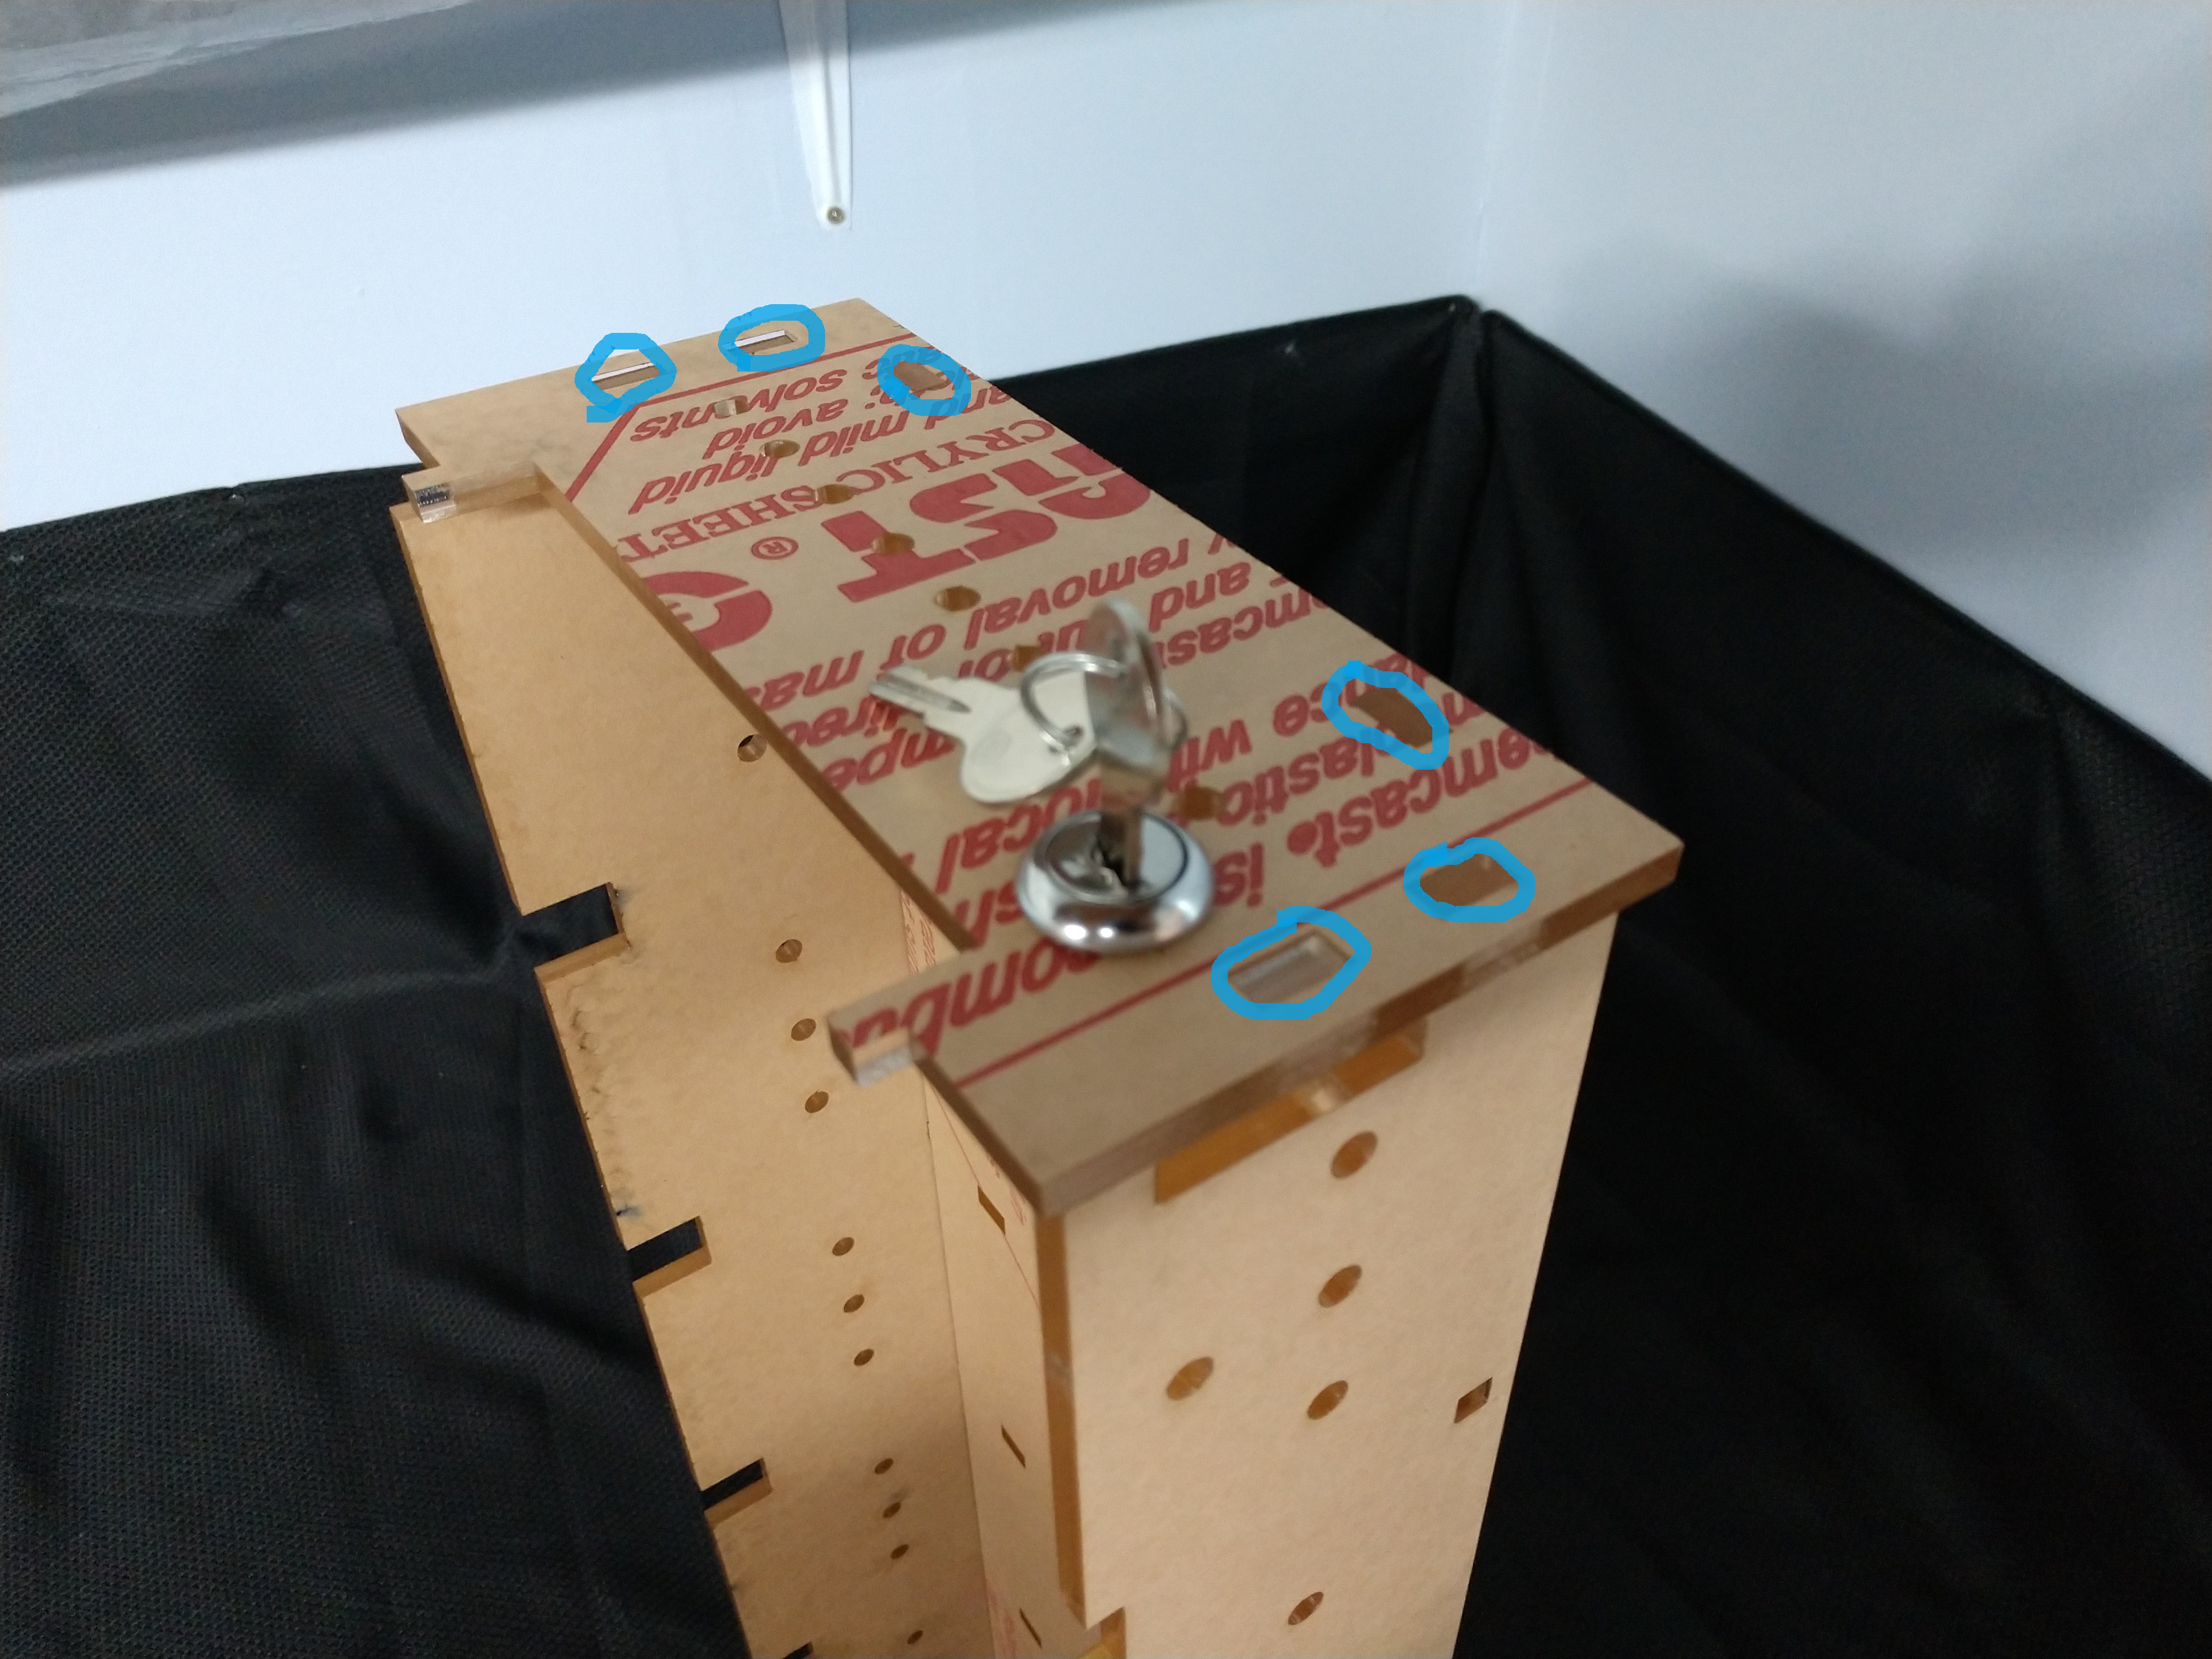
Step 2
Attach the drawer lock to right side panel. Use the hardware that is included, do not open/use the extra hardware pack. You’ll need to remove the screw, locking washer, and locking bar. Careful to not lose any of the internals while unscrewing the locking nut. Slide the lock mechanism through the large hole then re-thread the locking nut. Re-attach the locking bar, locking washer, and screw. Ensure that the key positions are down and facing to the right once installed.

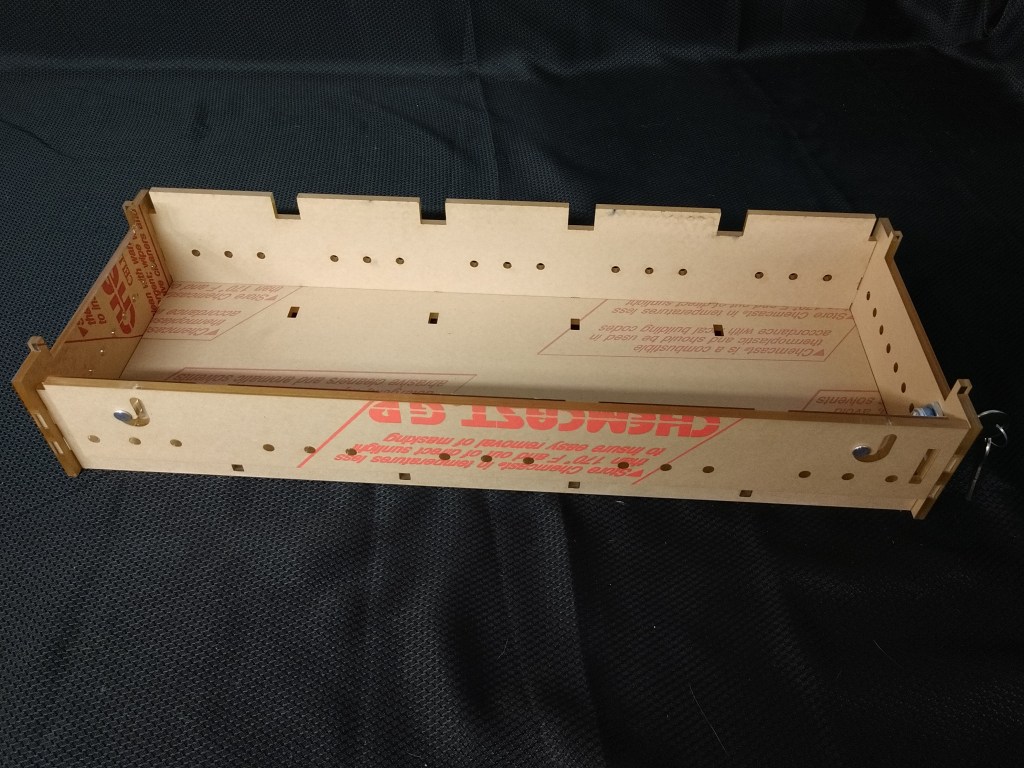
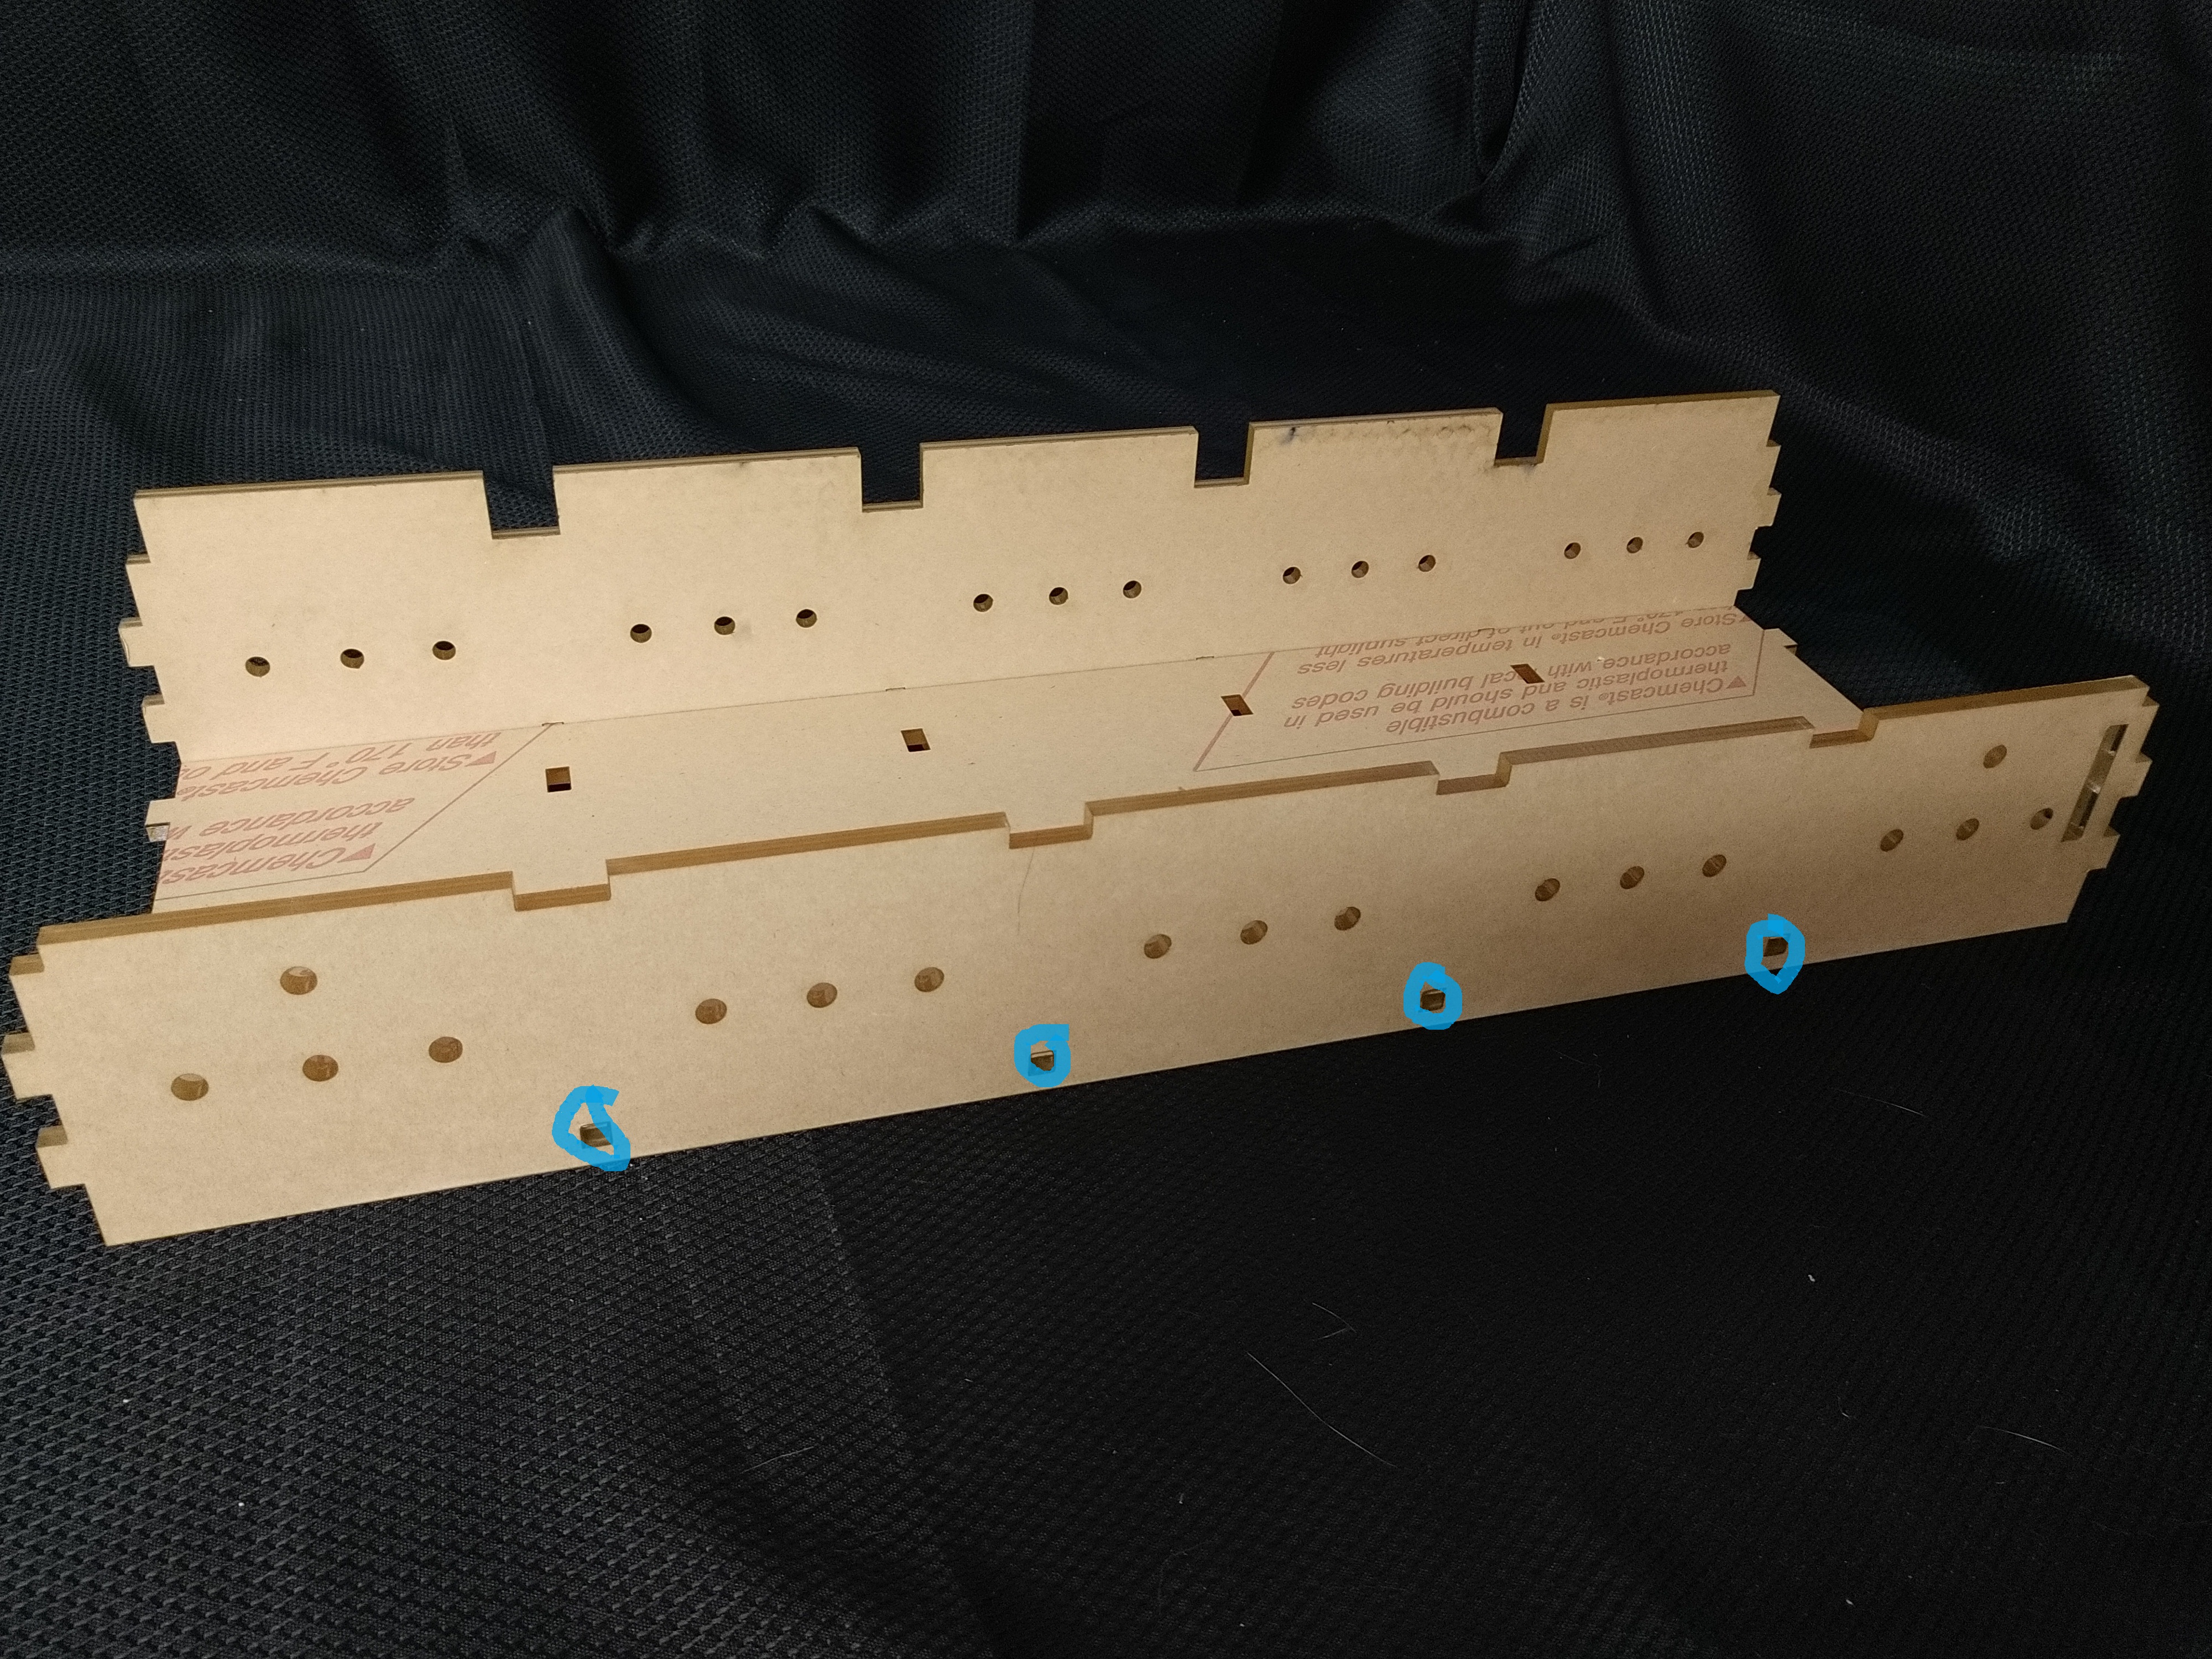
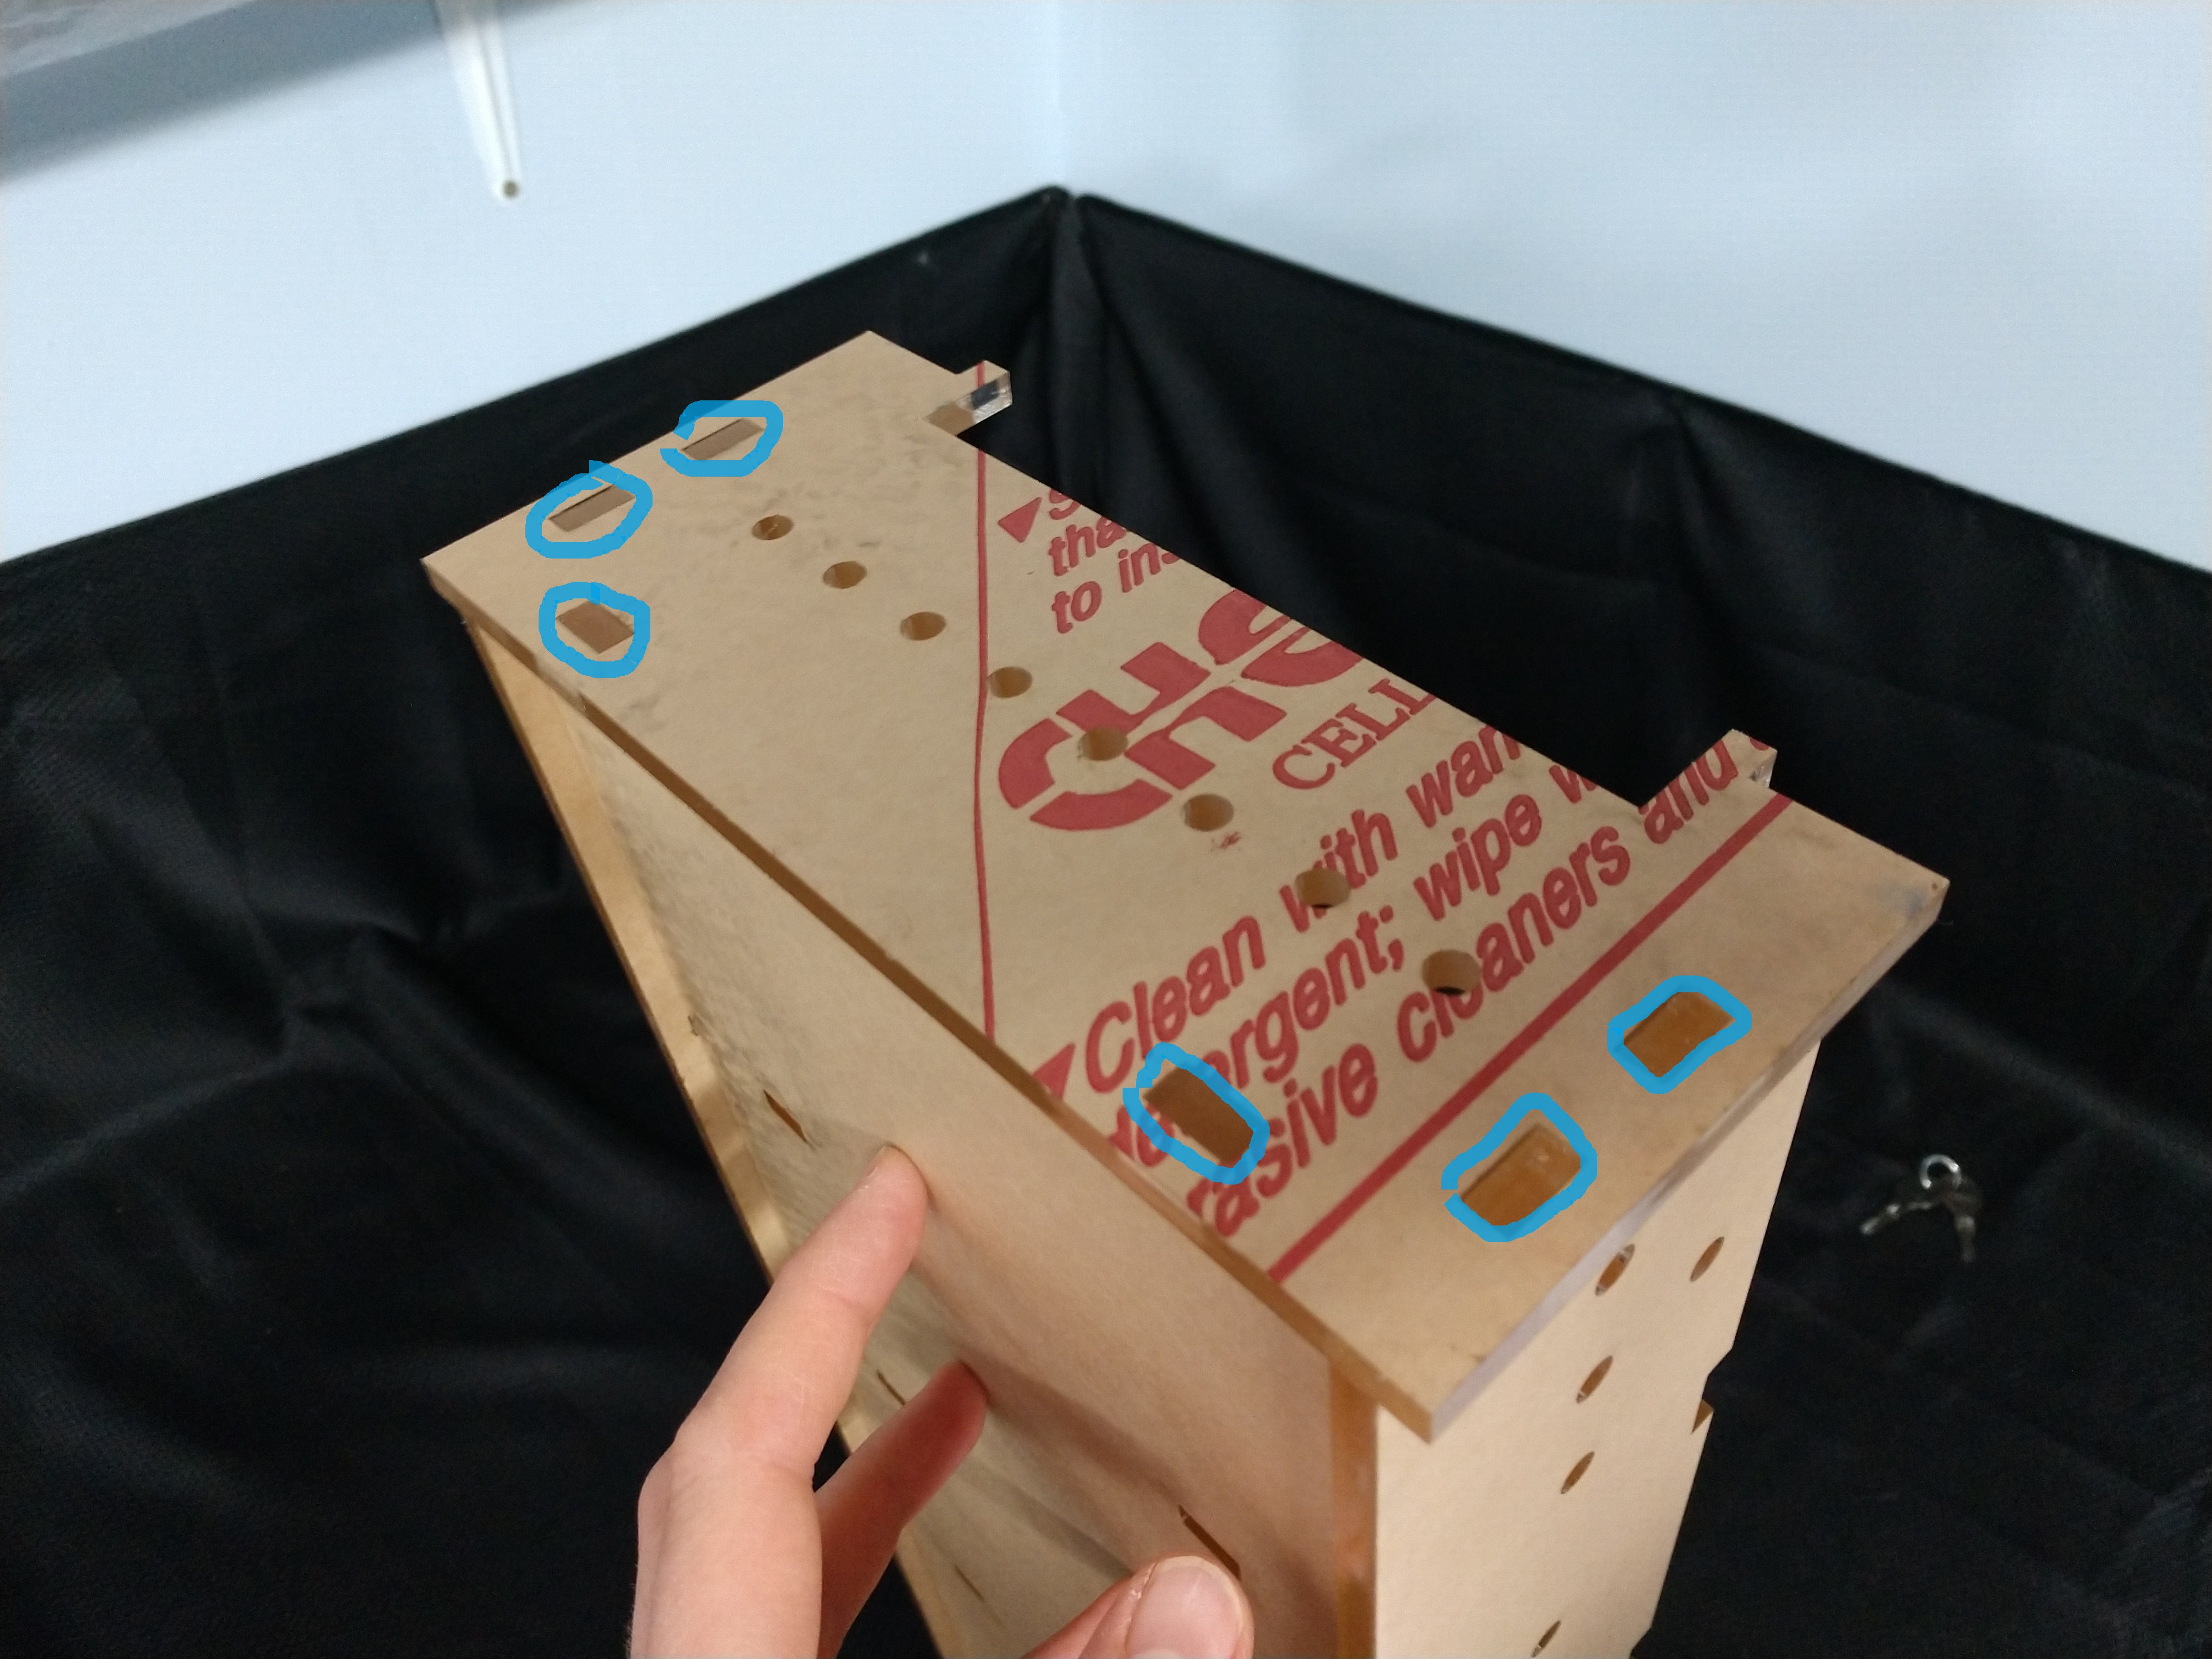
Step 3
Assemble the tray base. Layout the side and bottom panels as shown. Match up the pegs with the square holes. Attach the front and back panels first, and then the side panels. For gluing, apply a small drop of glue to each of the pegs before sliding them into the square holes. You can also run a small bead of glue along all the corner and front/back/side edges where they meet the base (just make sure not to place any glue above the peg holes in case it dries raised and doesn’t allow a tight fit for the divider).


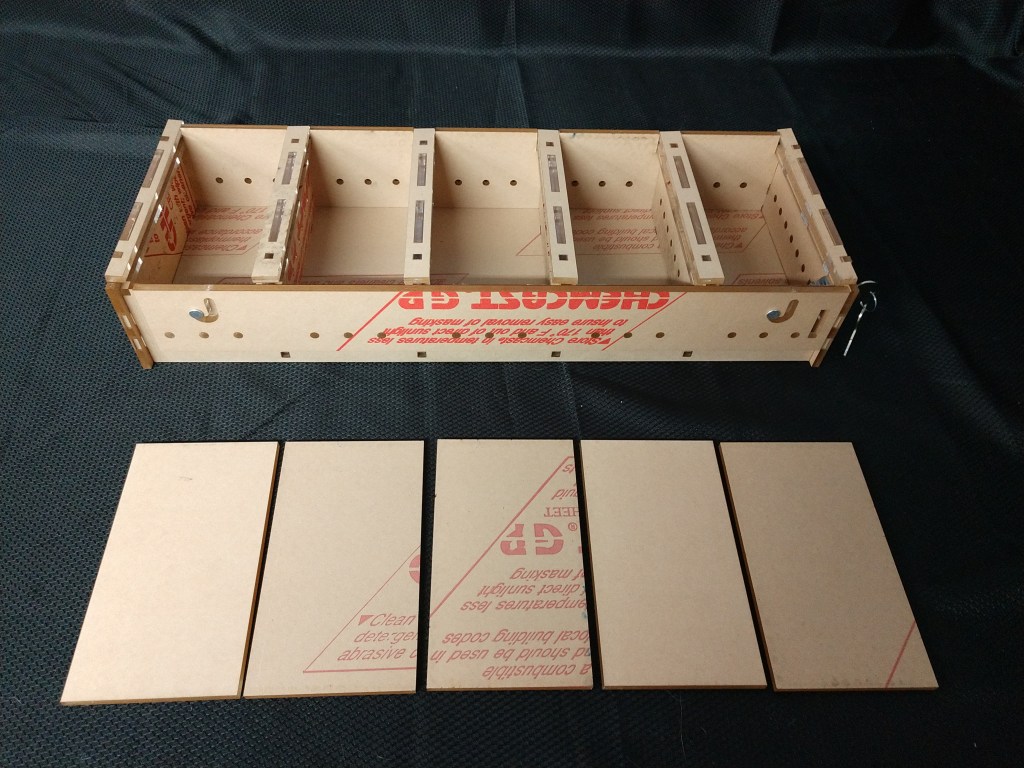
Step 4
Insert the dividing panels. The orientation does not matter as these are symmetrical. Make sure to use no glue on these dividers so that you will be able to adjust them later on.

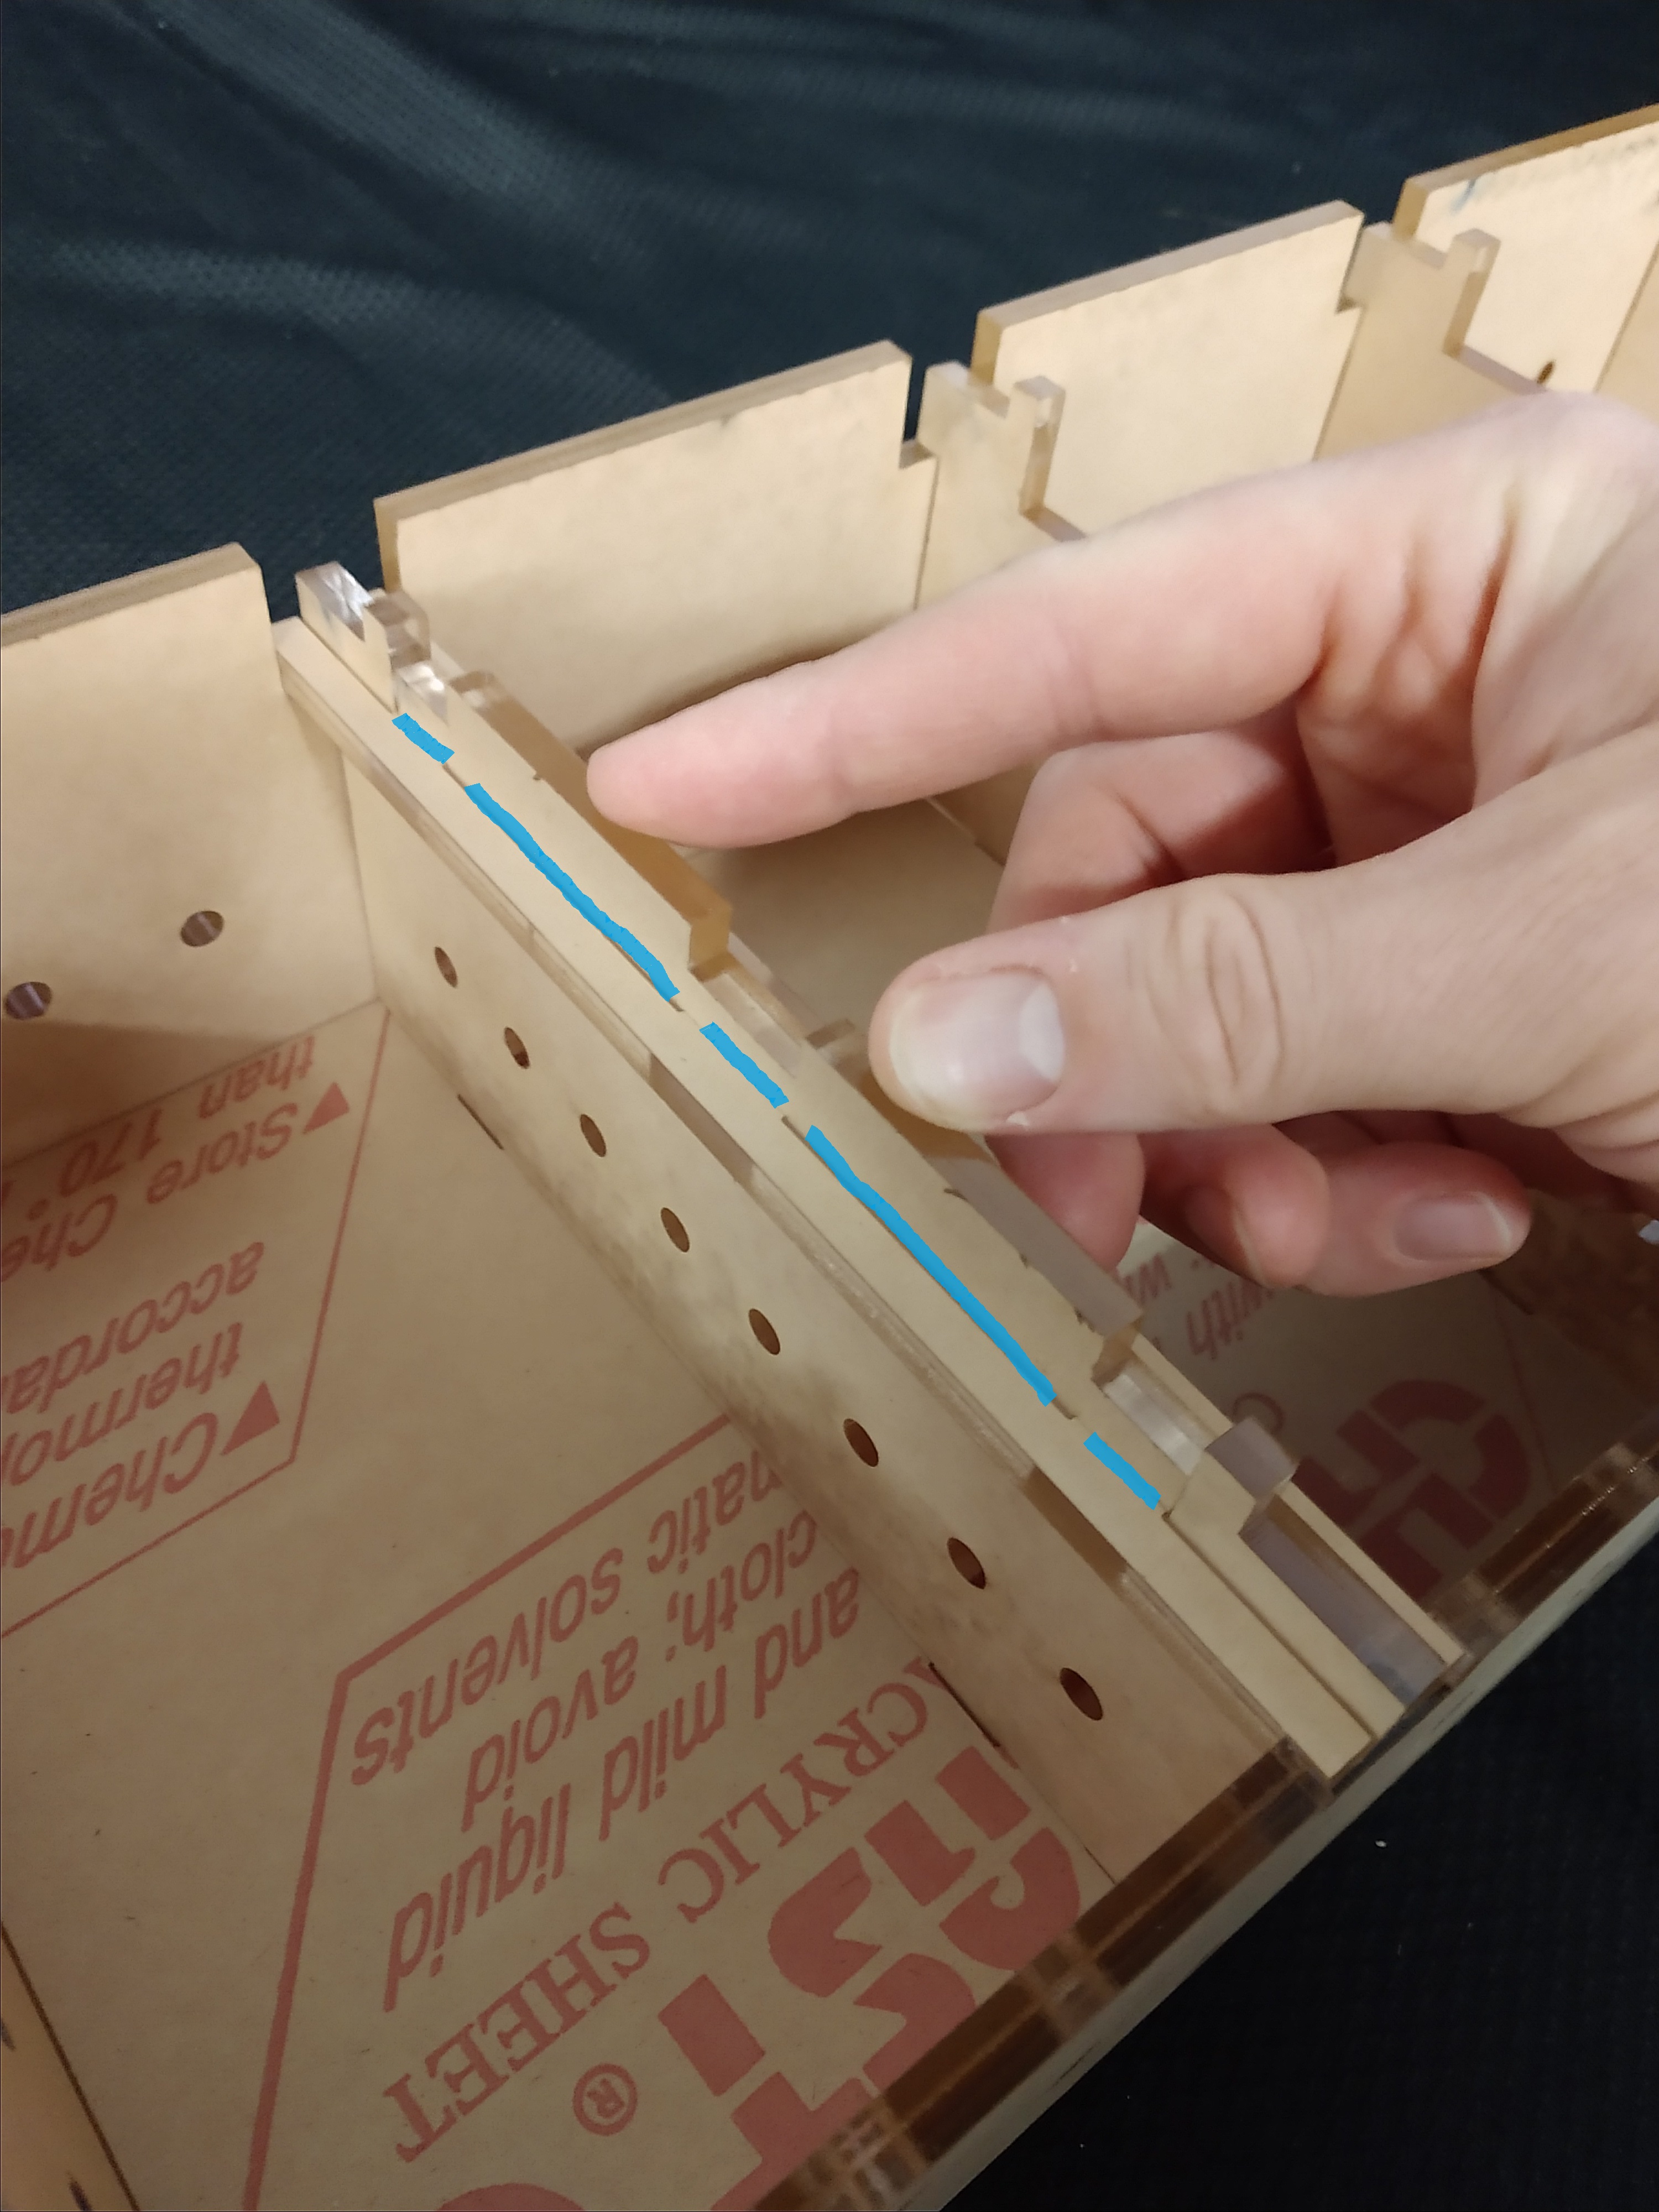
Step 5
Assemble and install the center panel divider channels. Each divider channel consists of two rectangular pieces and a center connector pieces. For gluing, apply a small drop of glue to each gap between the rectangular holes, on the top and bottom pieces. When gluing the guides, you can use one of the compartment tops as a spacing check by sliding it in and out of the slot.


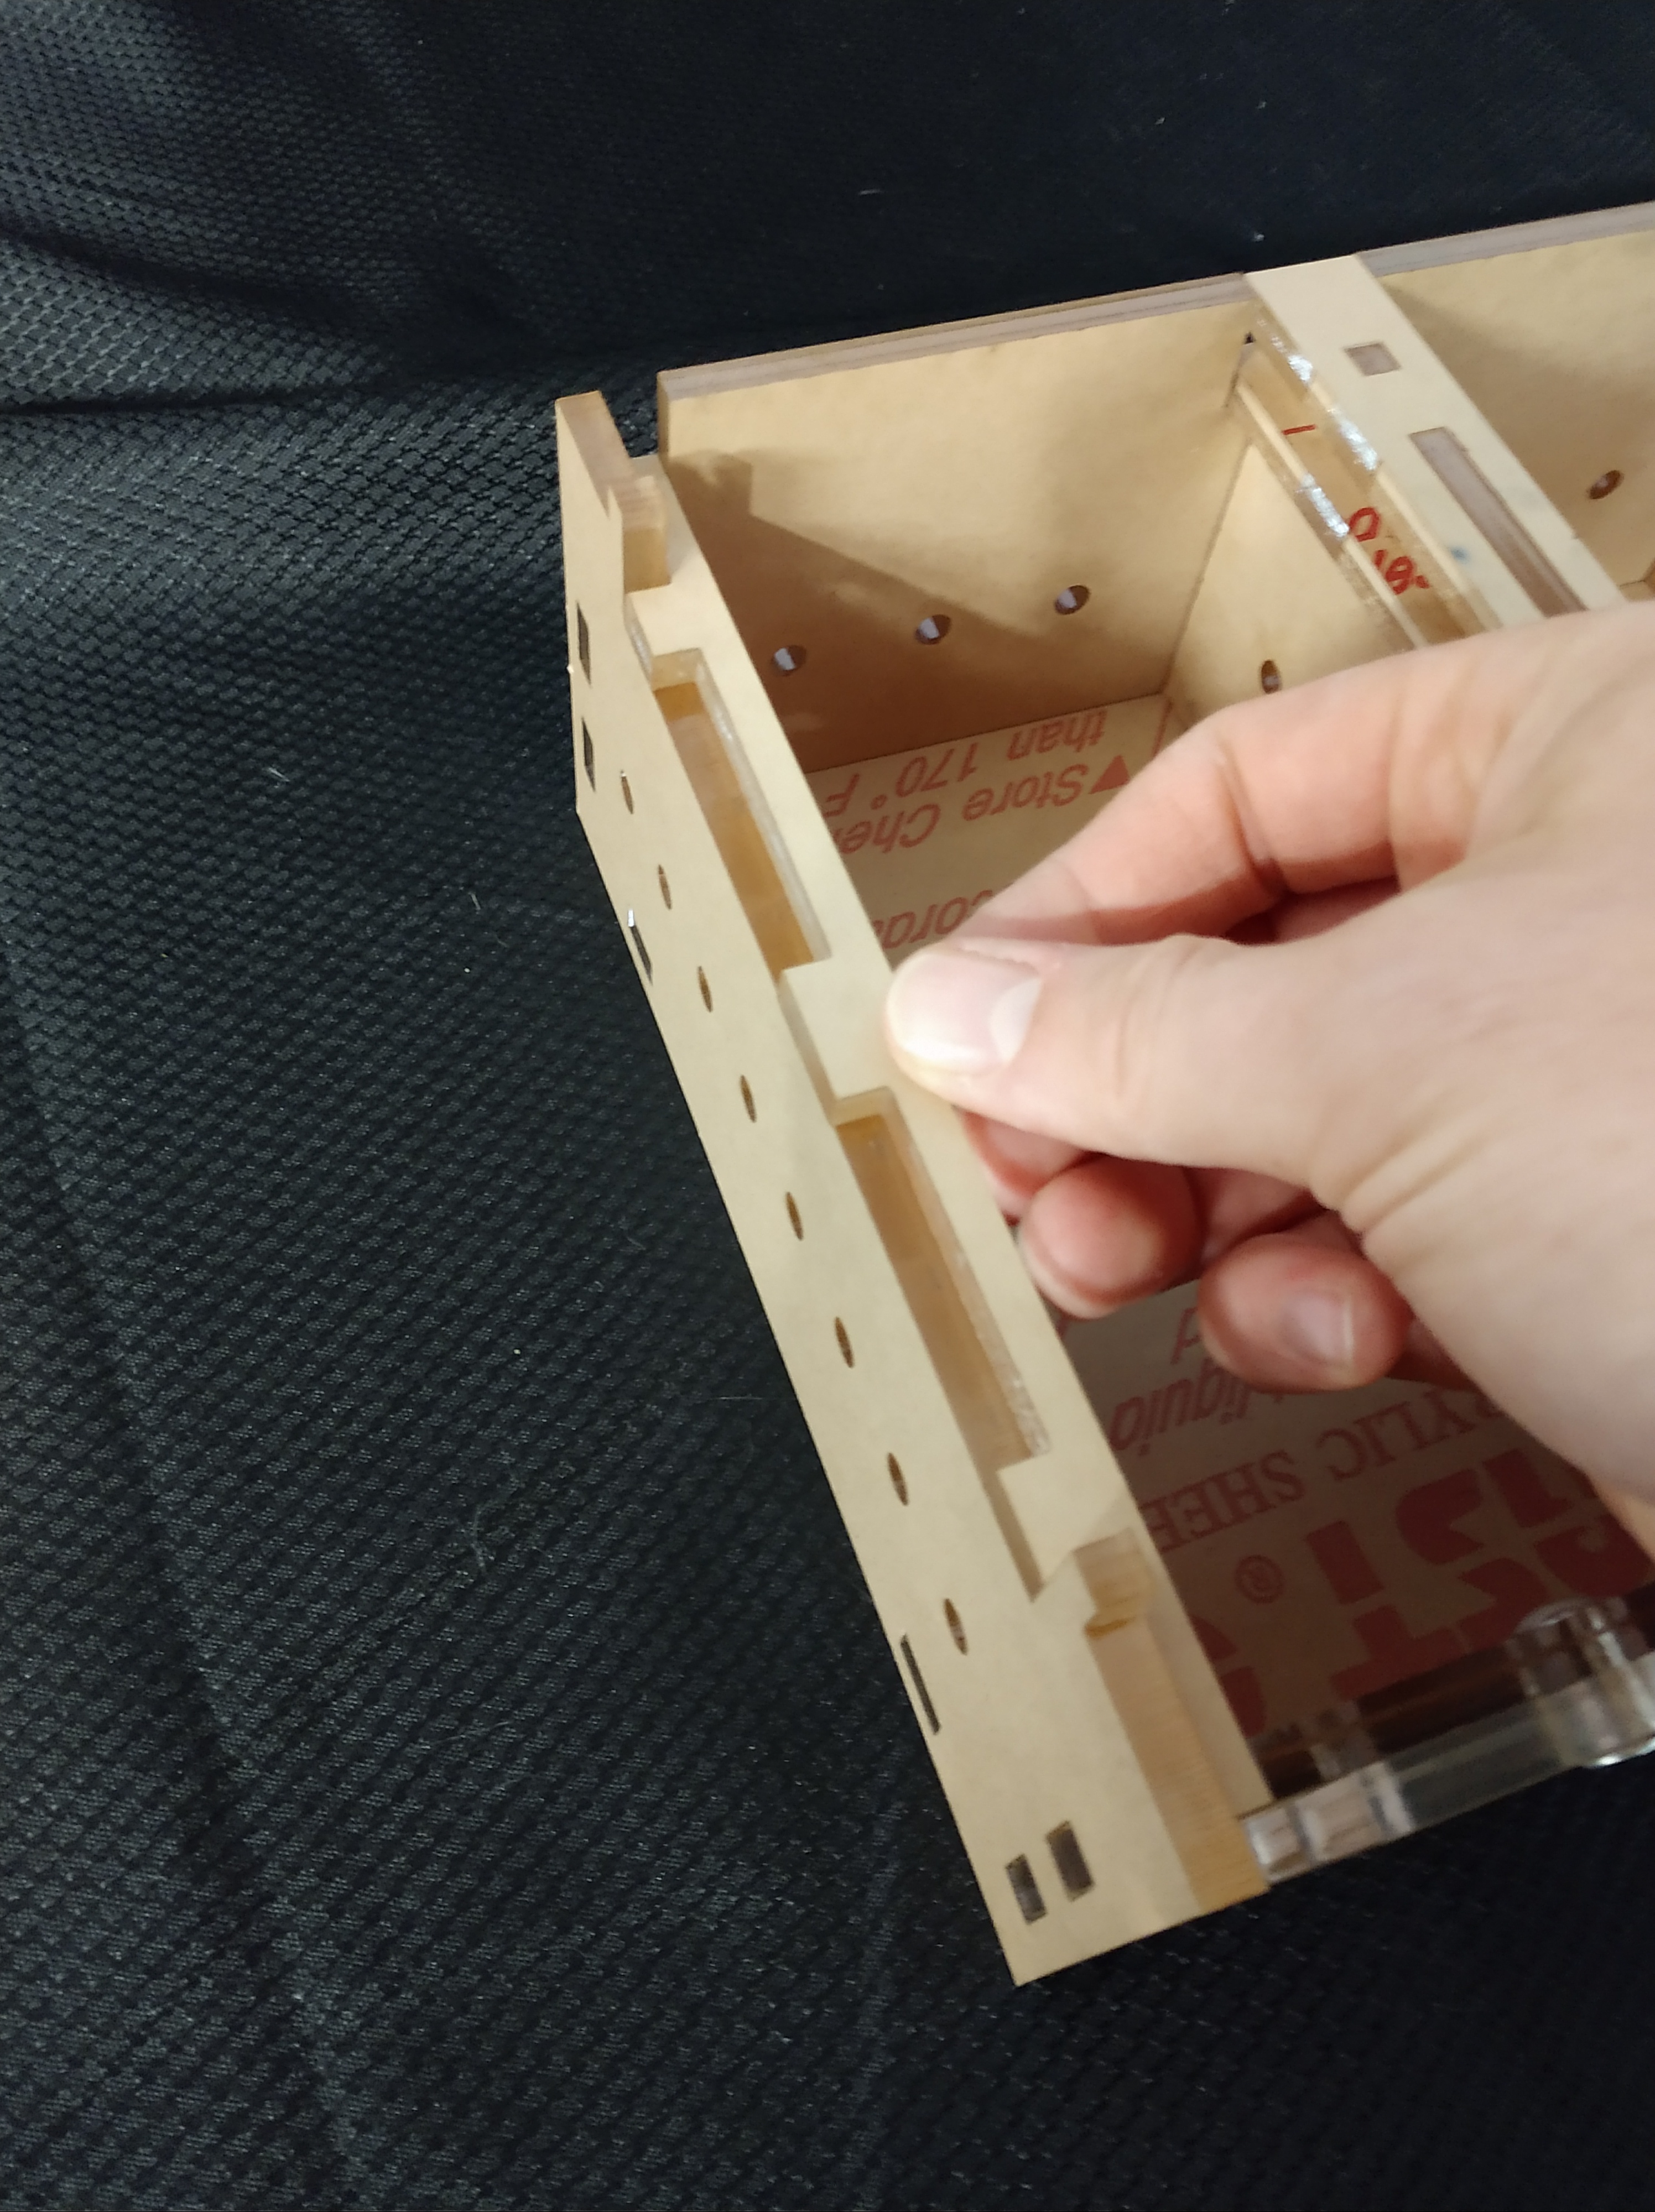
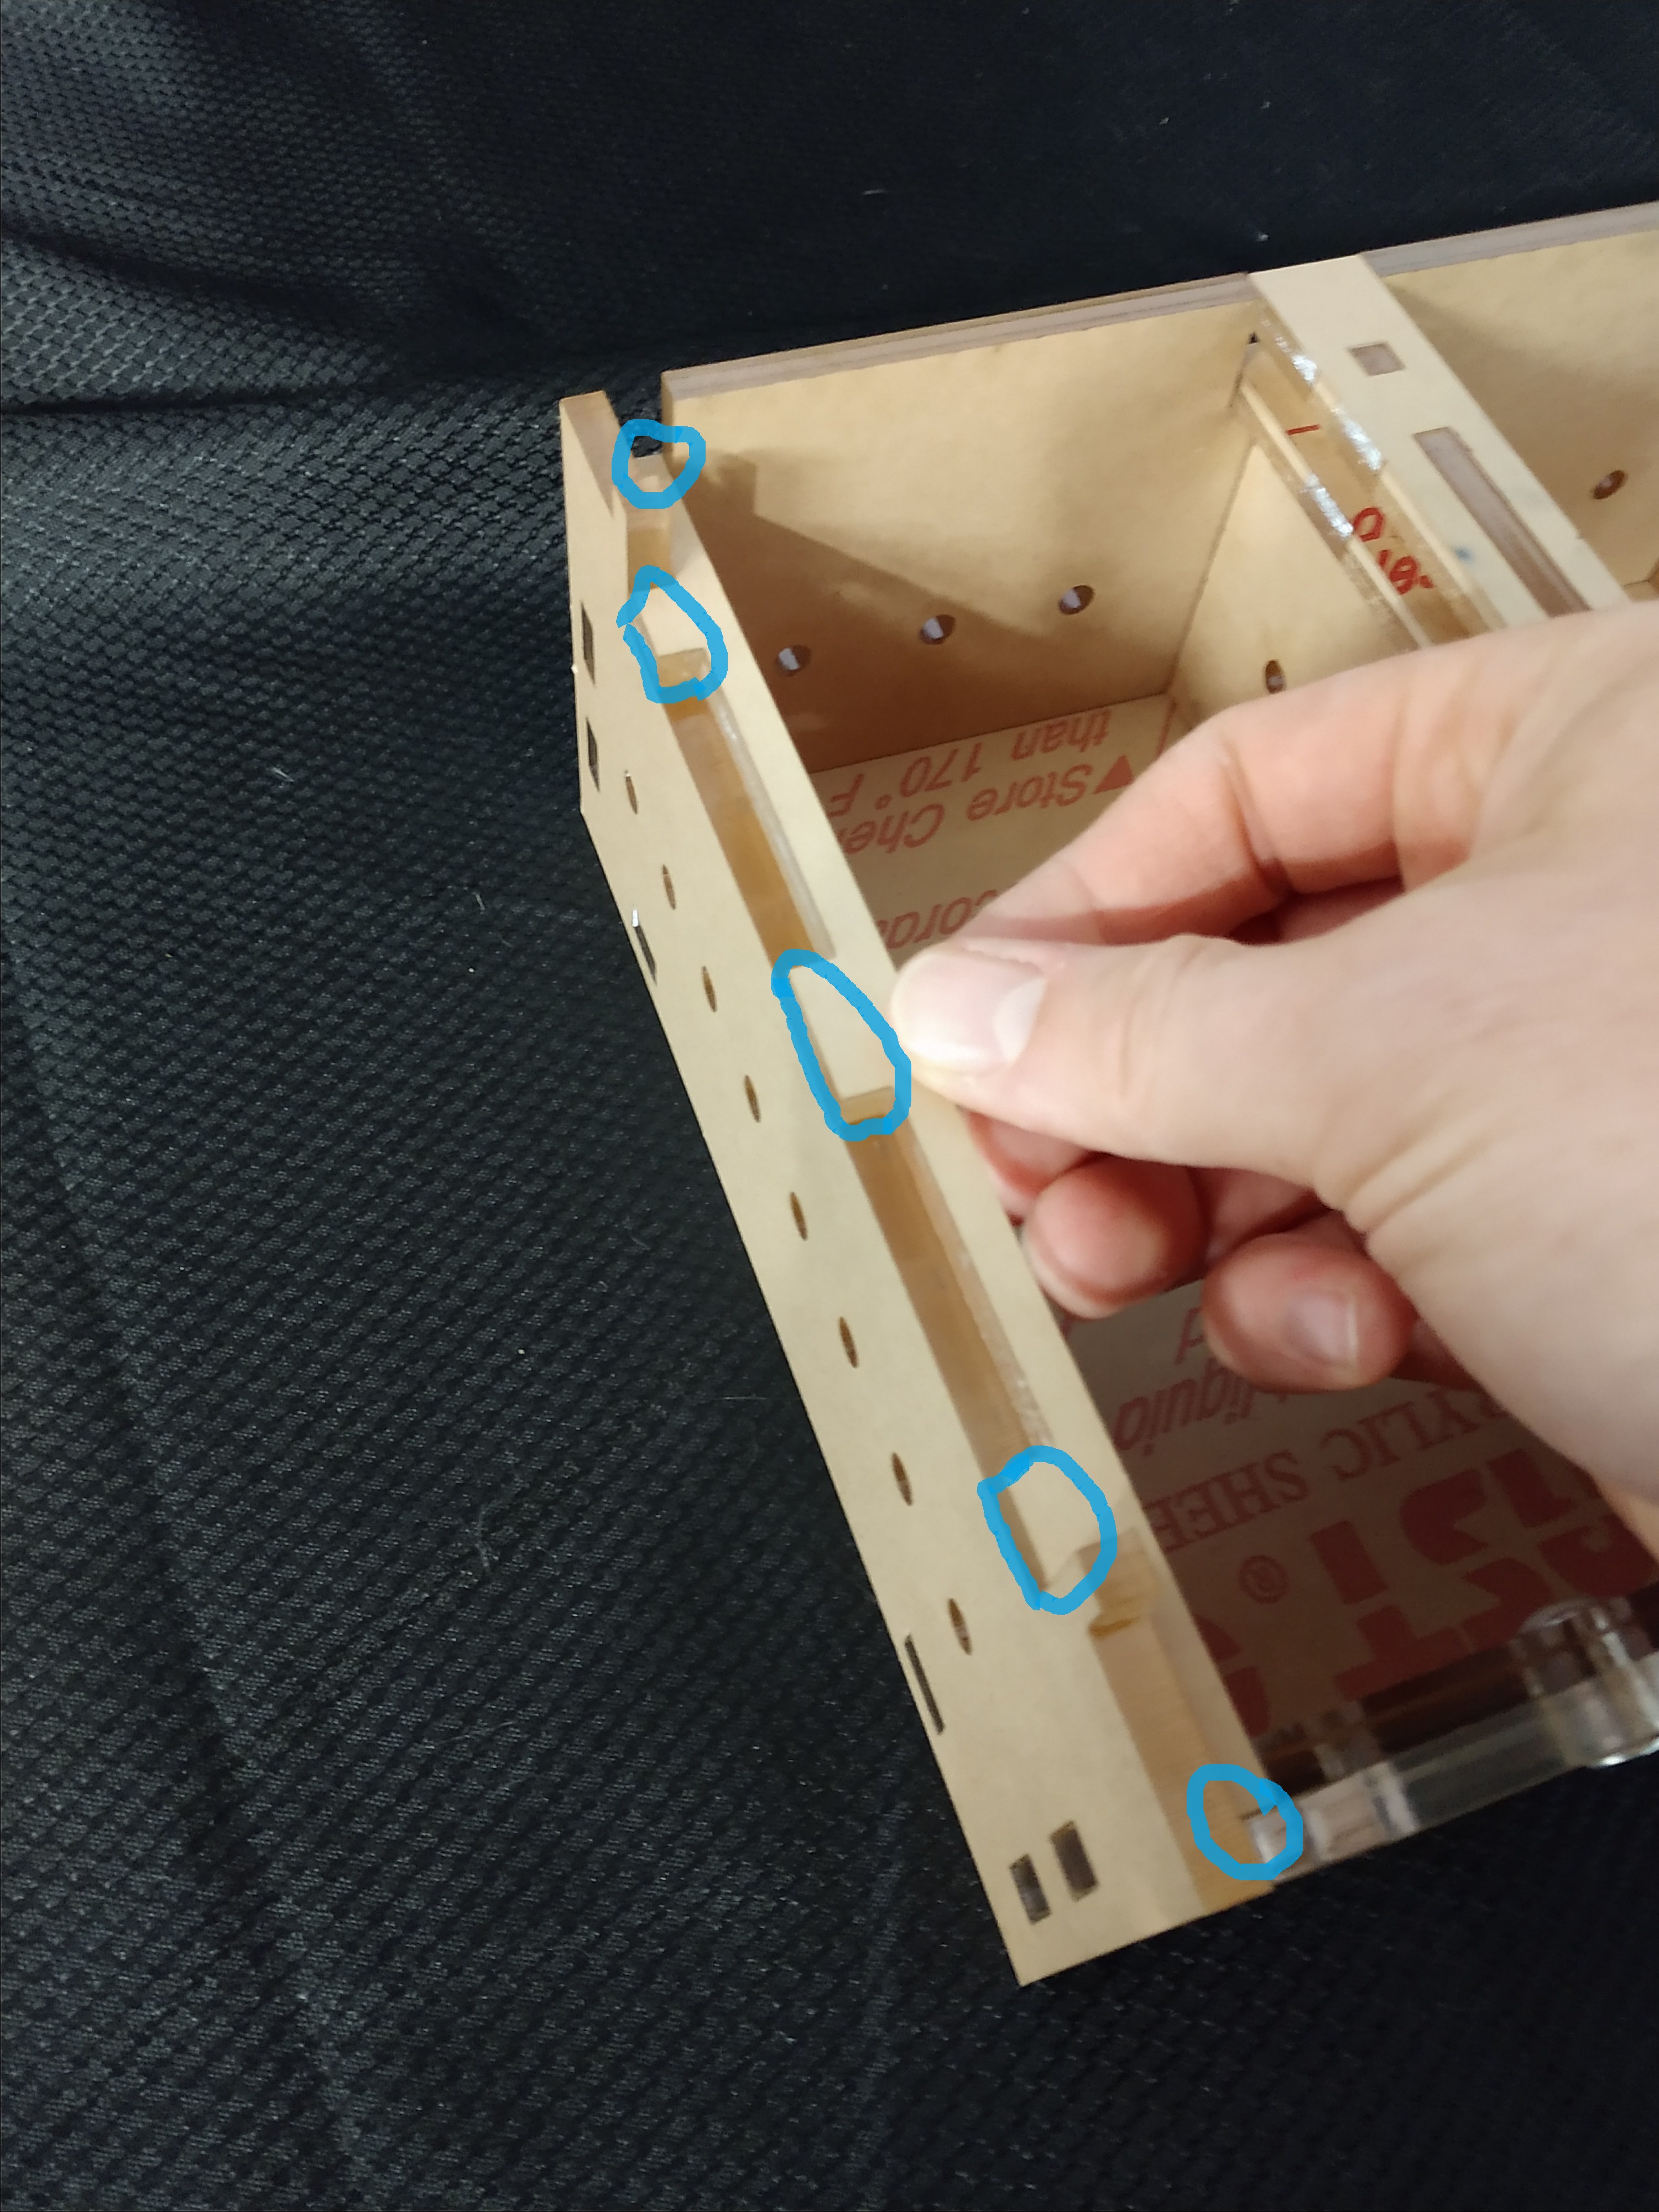
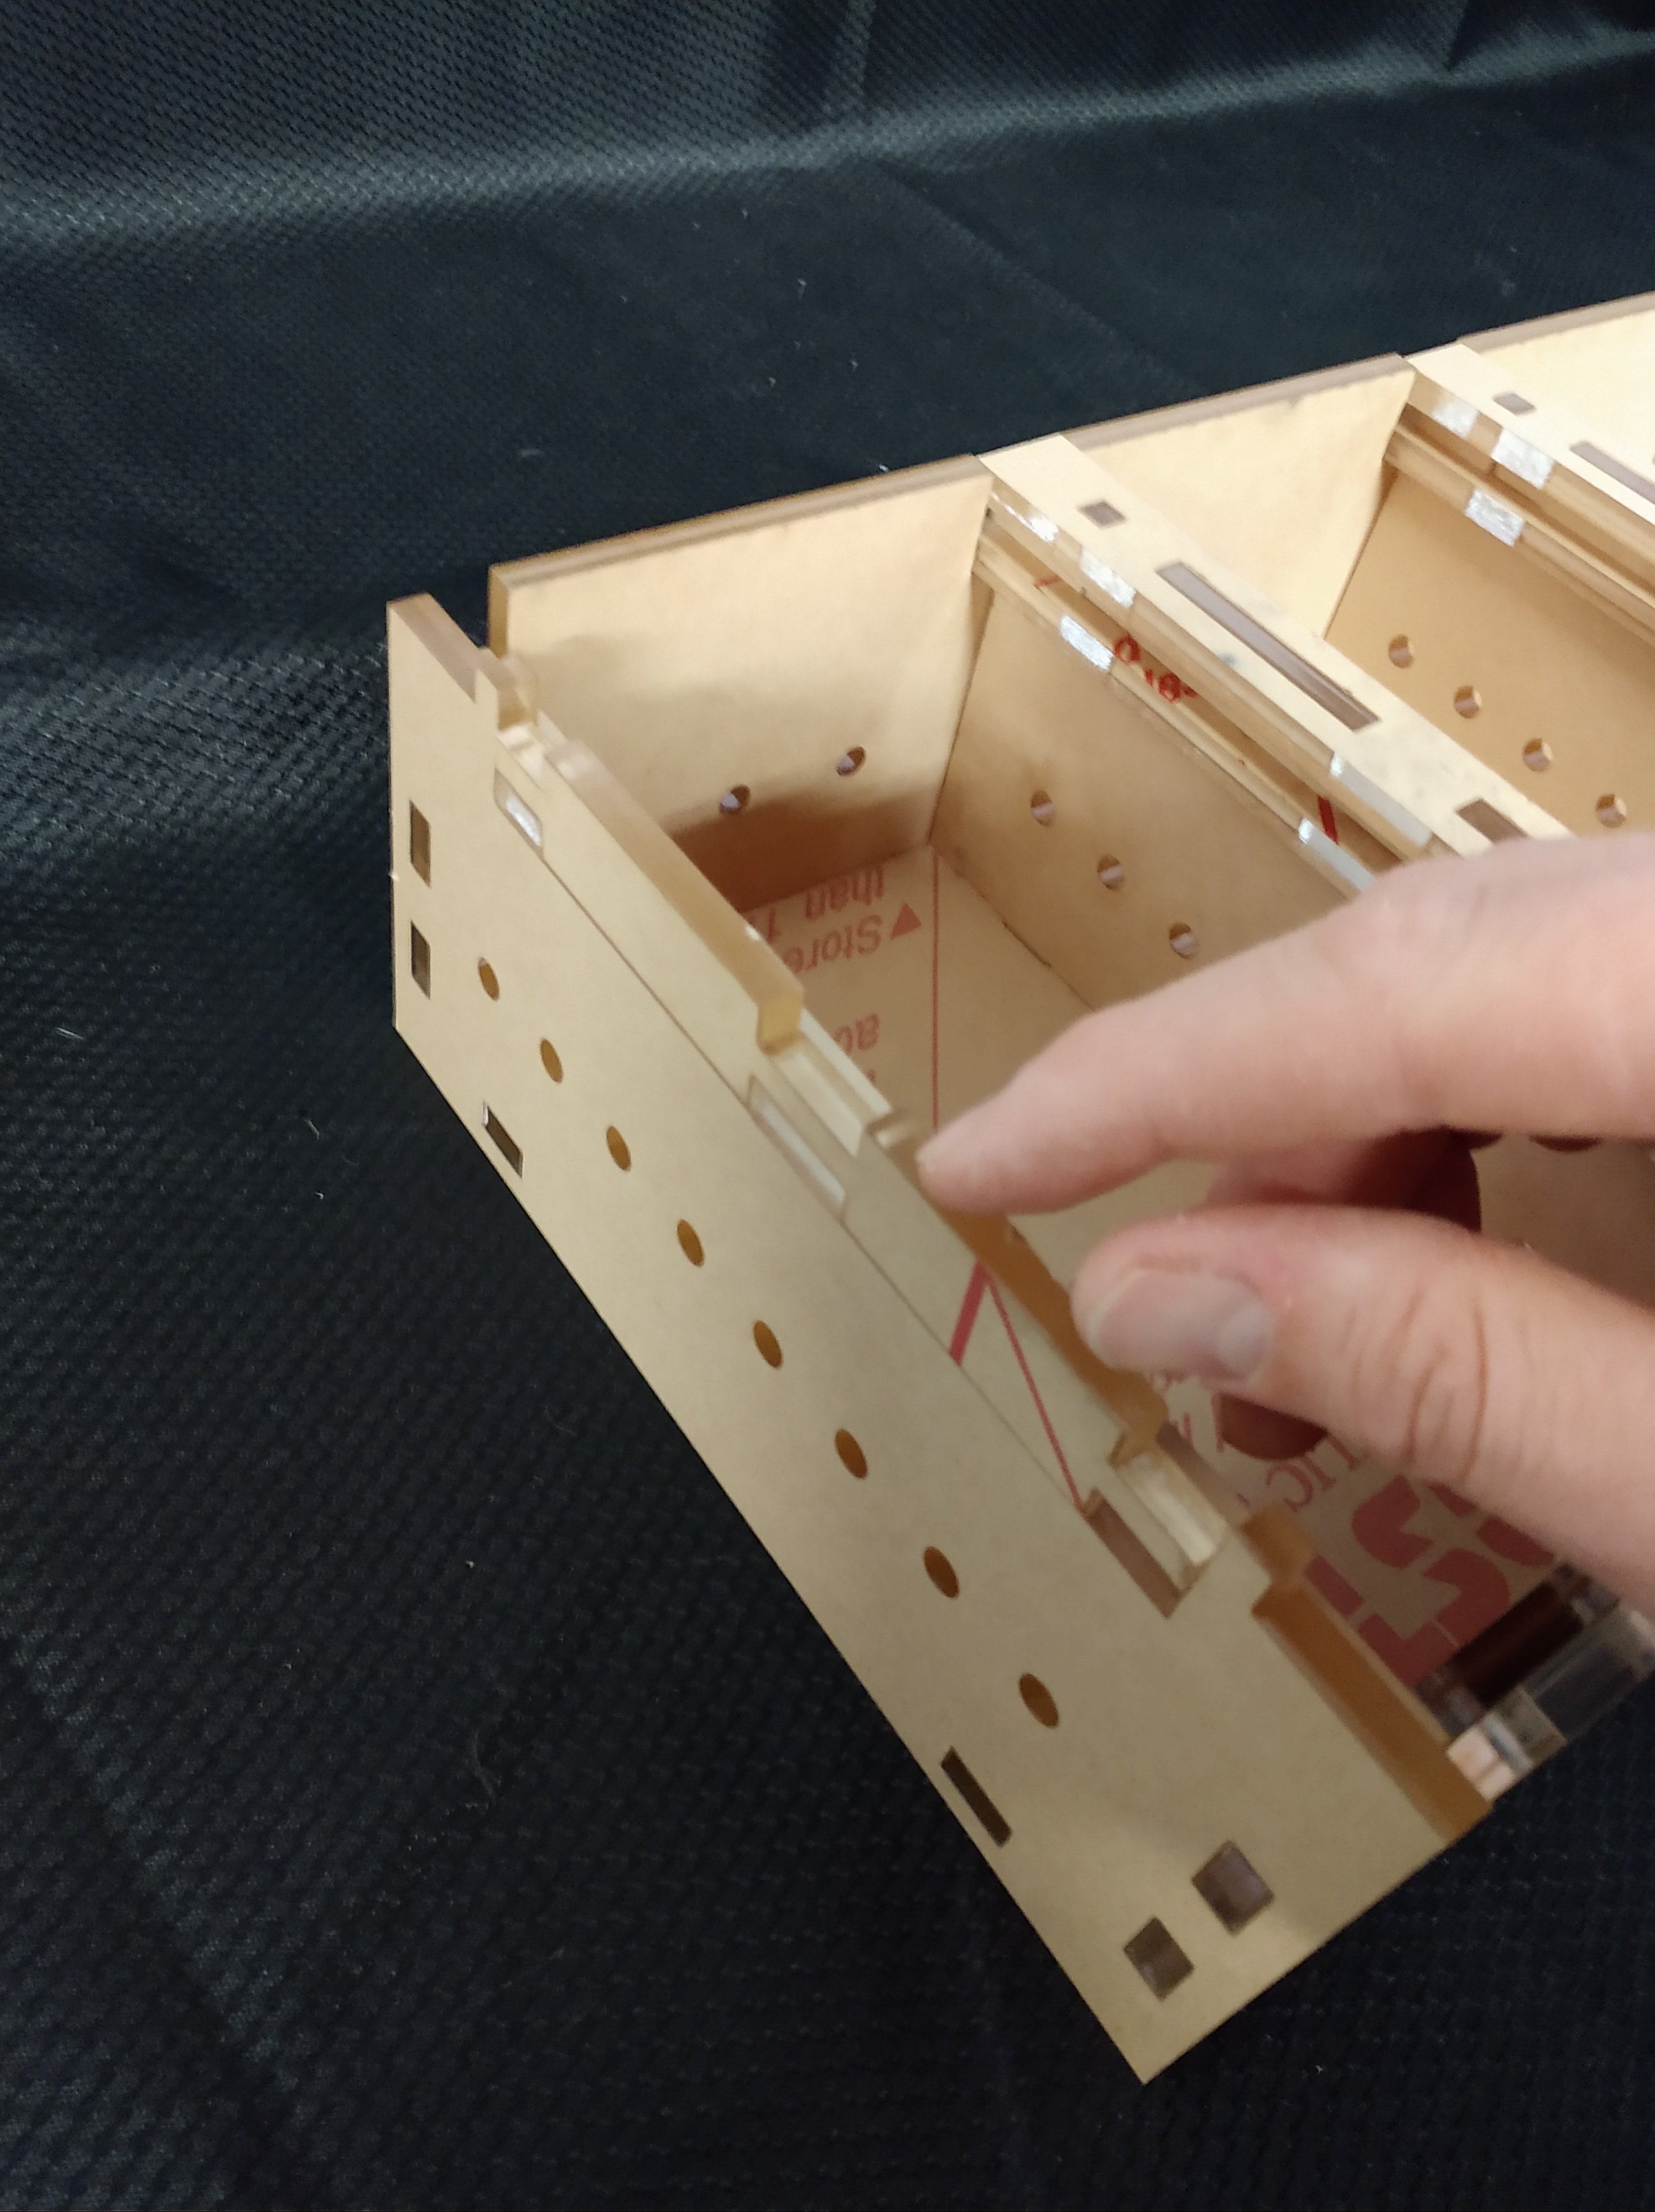
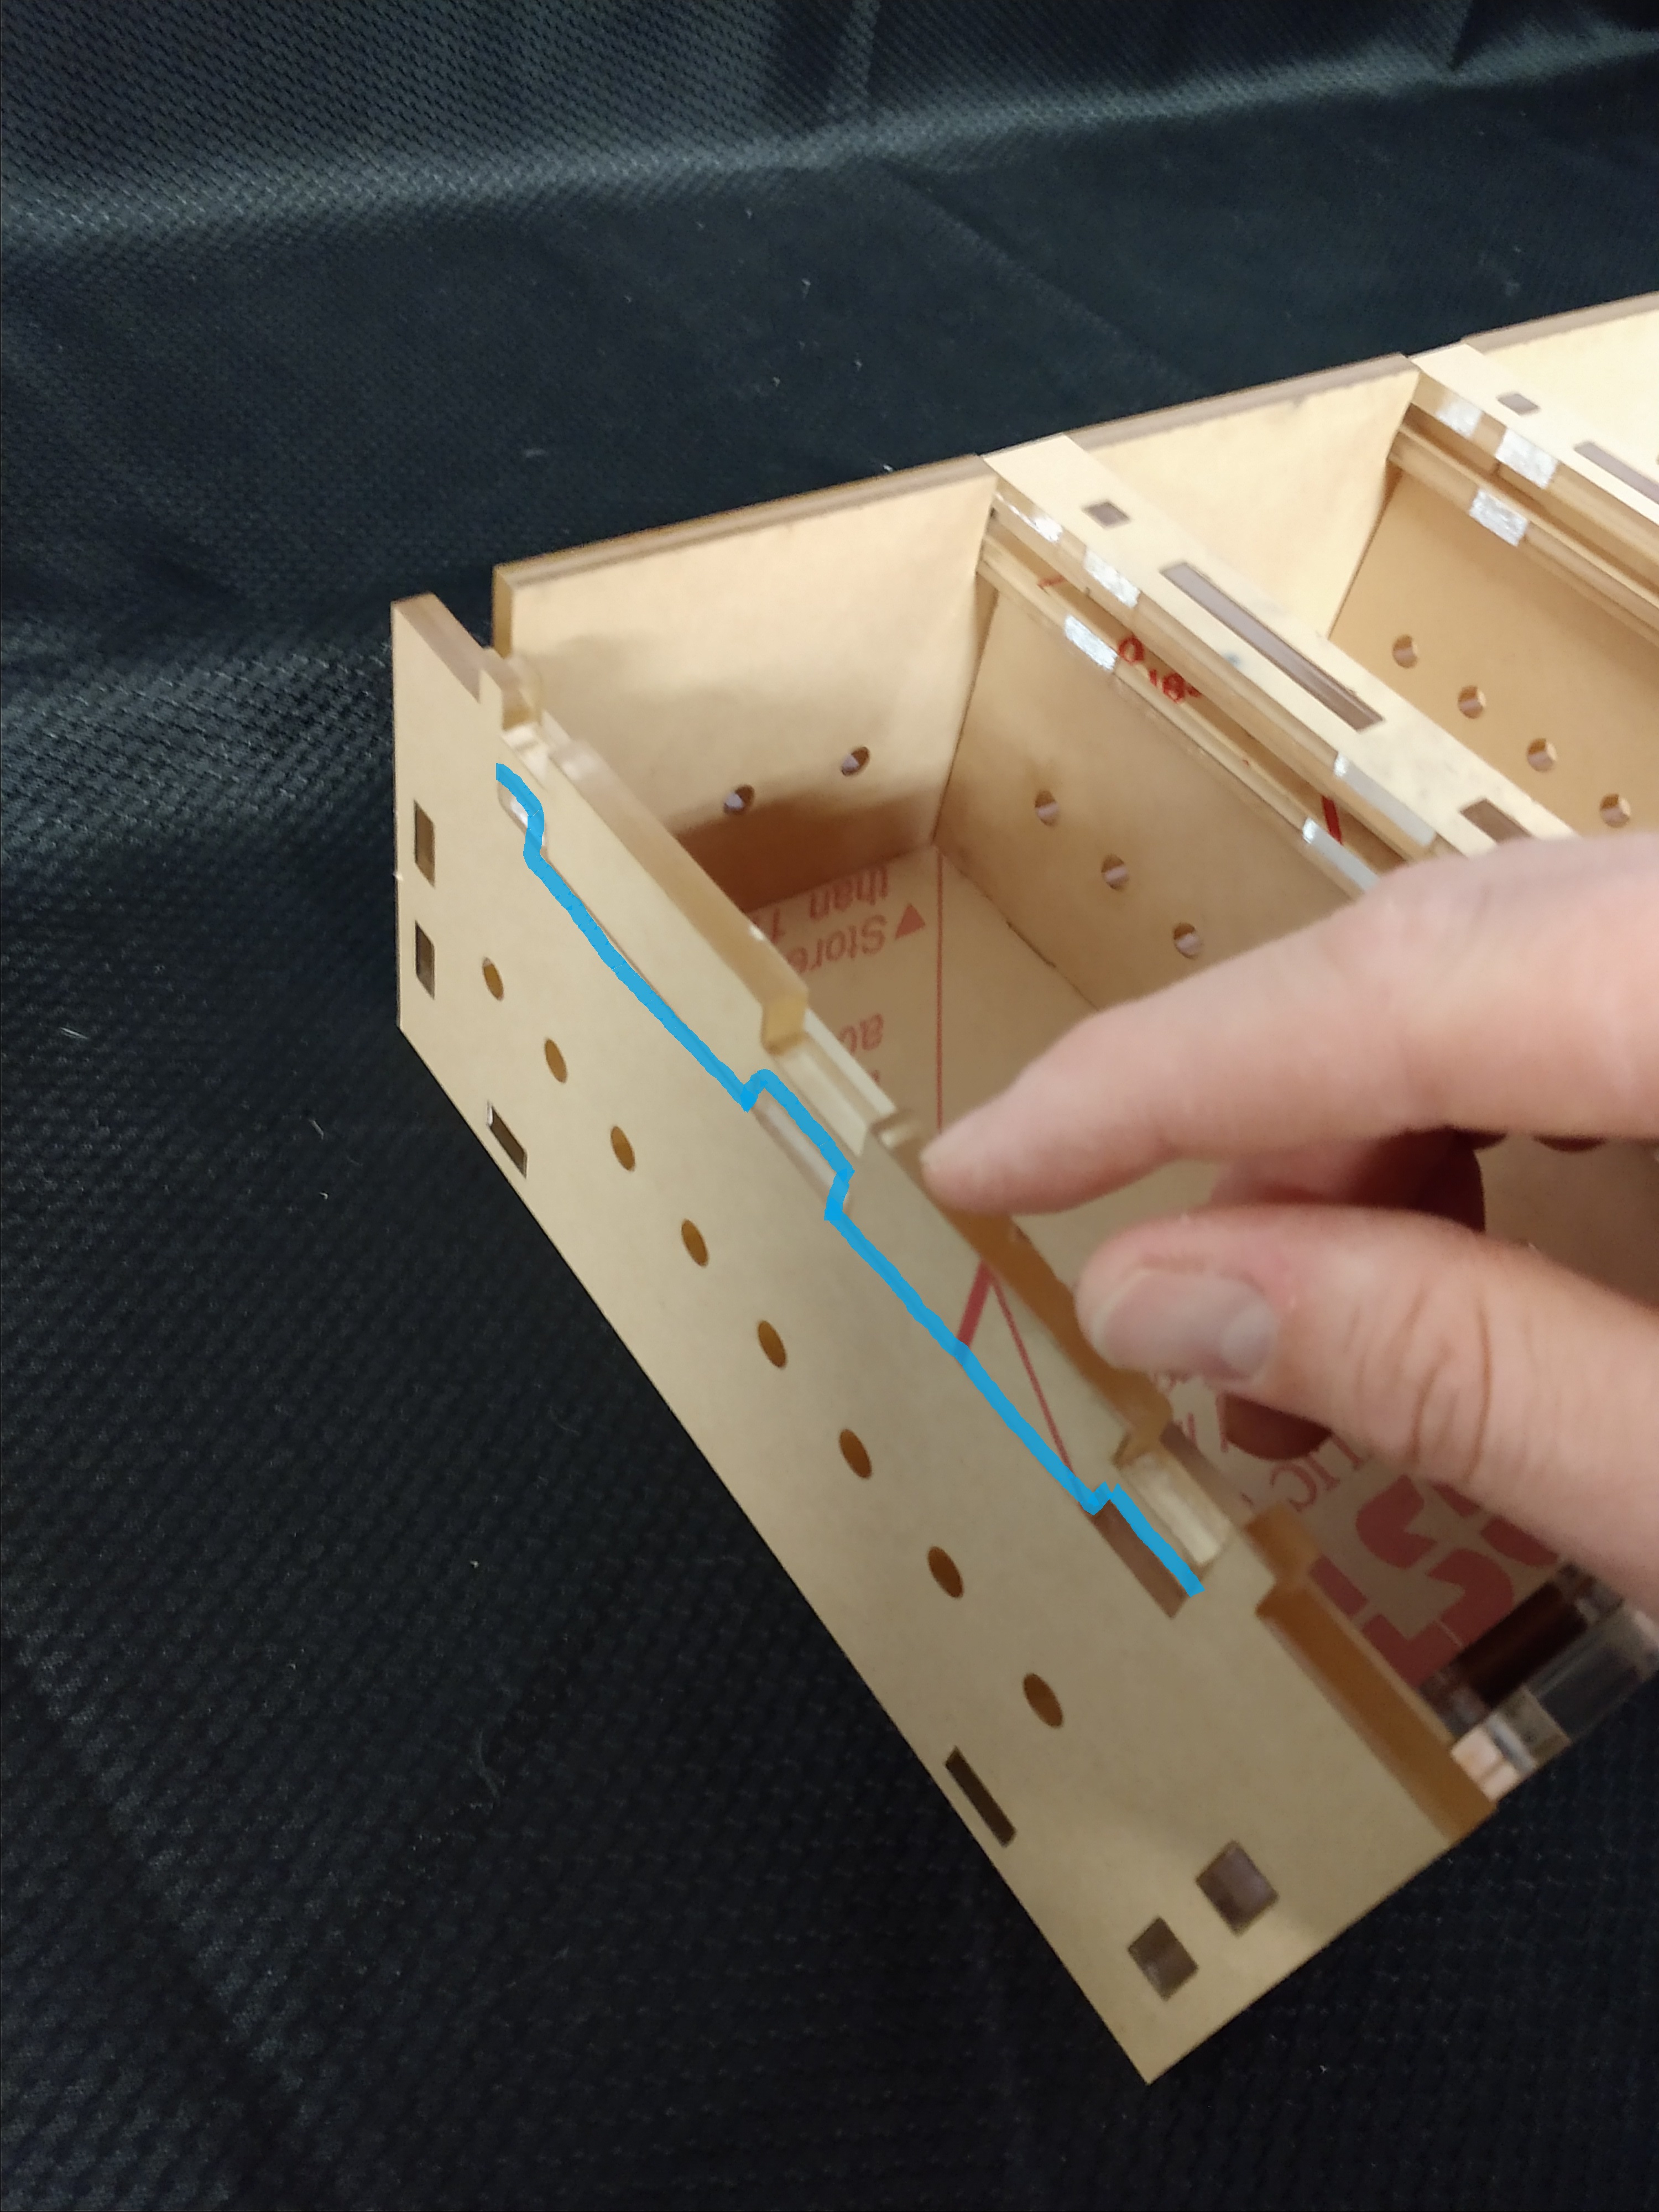
Step 6
Assemble the side panel divider channels. Each divider channel consists of a top and bottom pieces as well as center connector. For gluing, apply a small drop of glue to each gap between the rectangular holes, on the top and bottom pieces. When gluing the guides, you can use one of the compartment tops as a spacing check by sliding it in and out of the slot.


Step 7
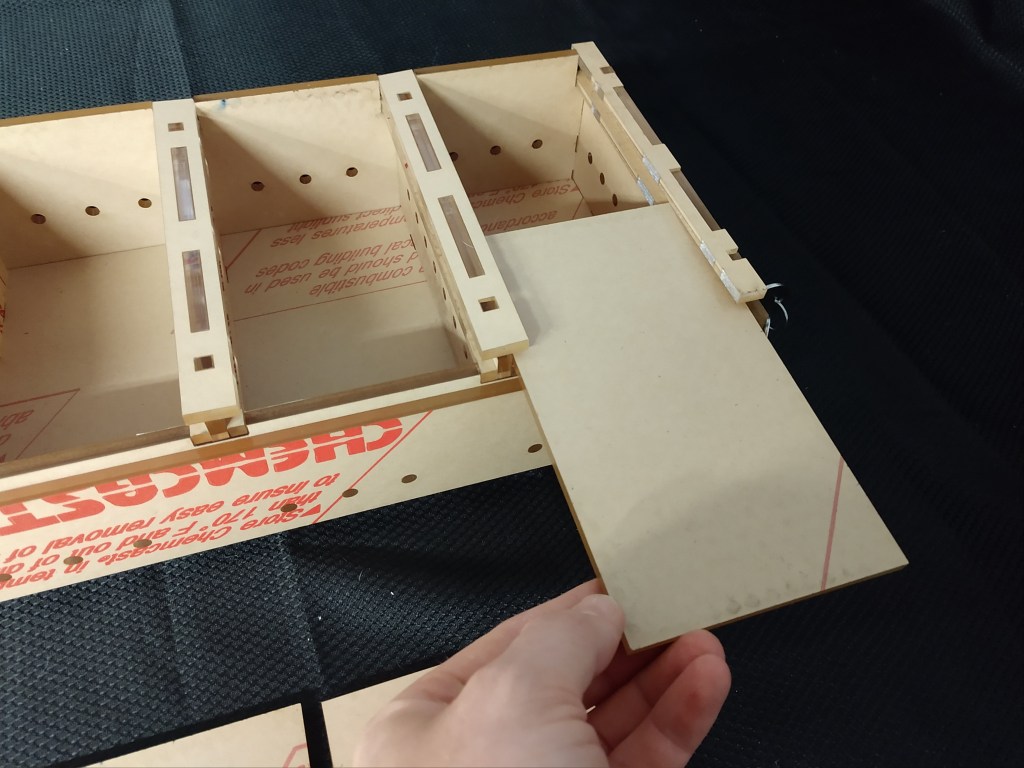
Slide in the top compartment panels. Make sure you have the front locking panel set to the open position. No gluing required for this step.


Step 8
Lock the reptile tray. Rotate the front locking panel to the closed position and turn the key to rotate the locking bar into place.


Step 9
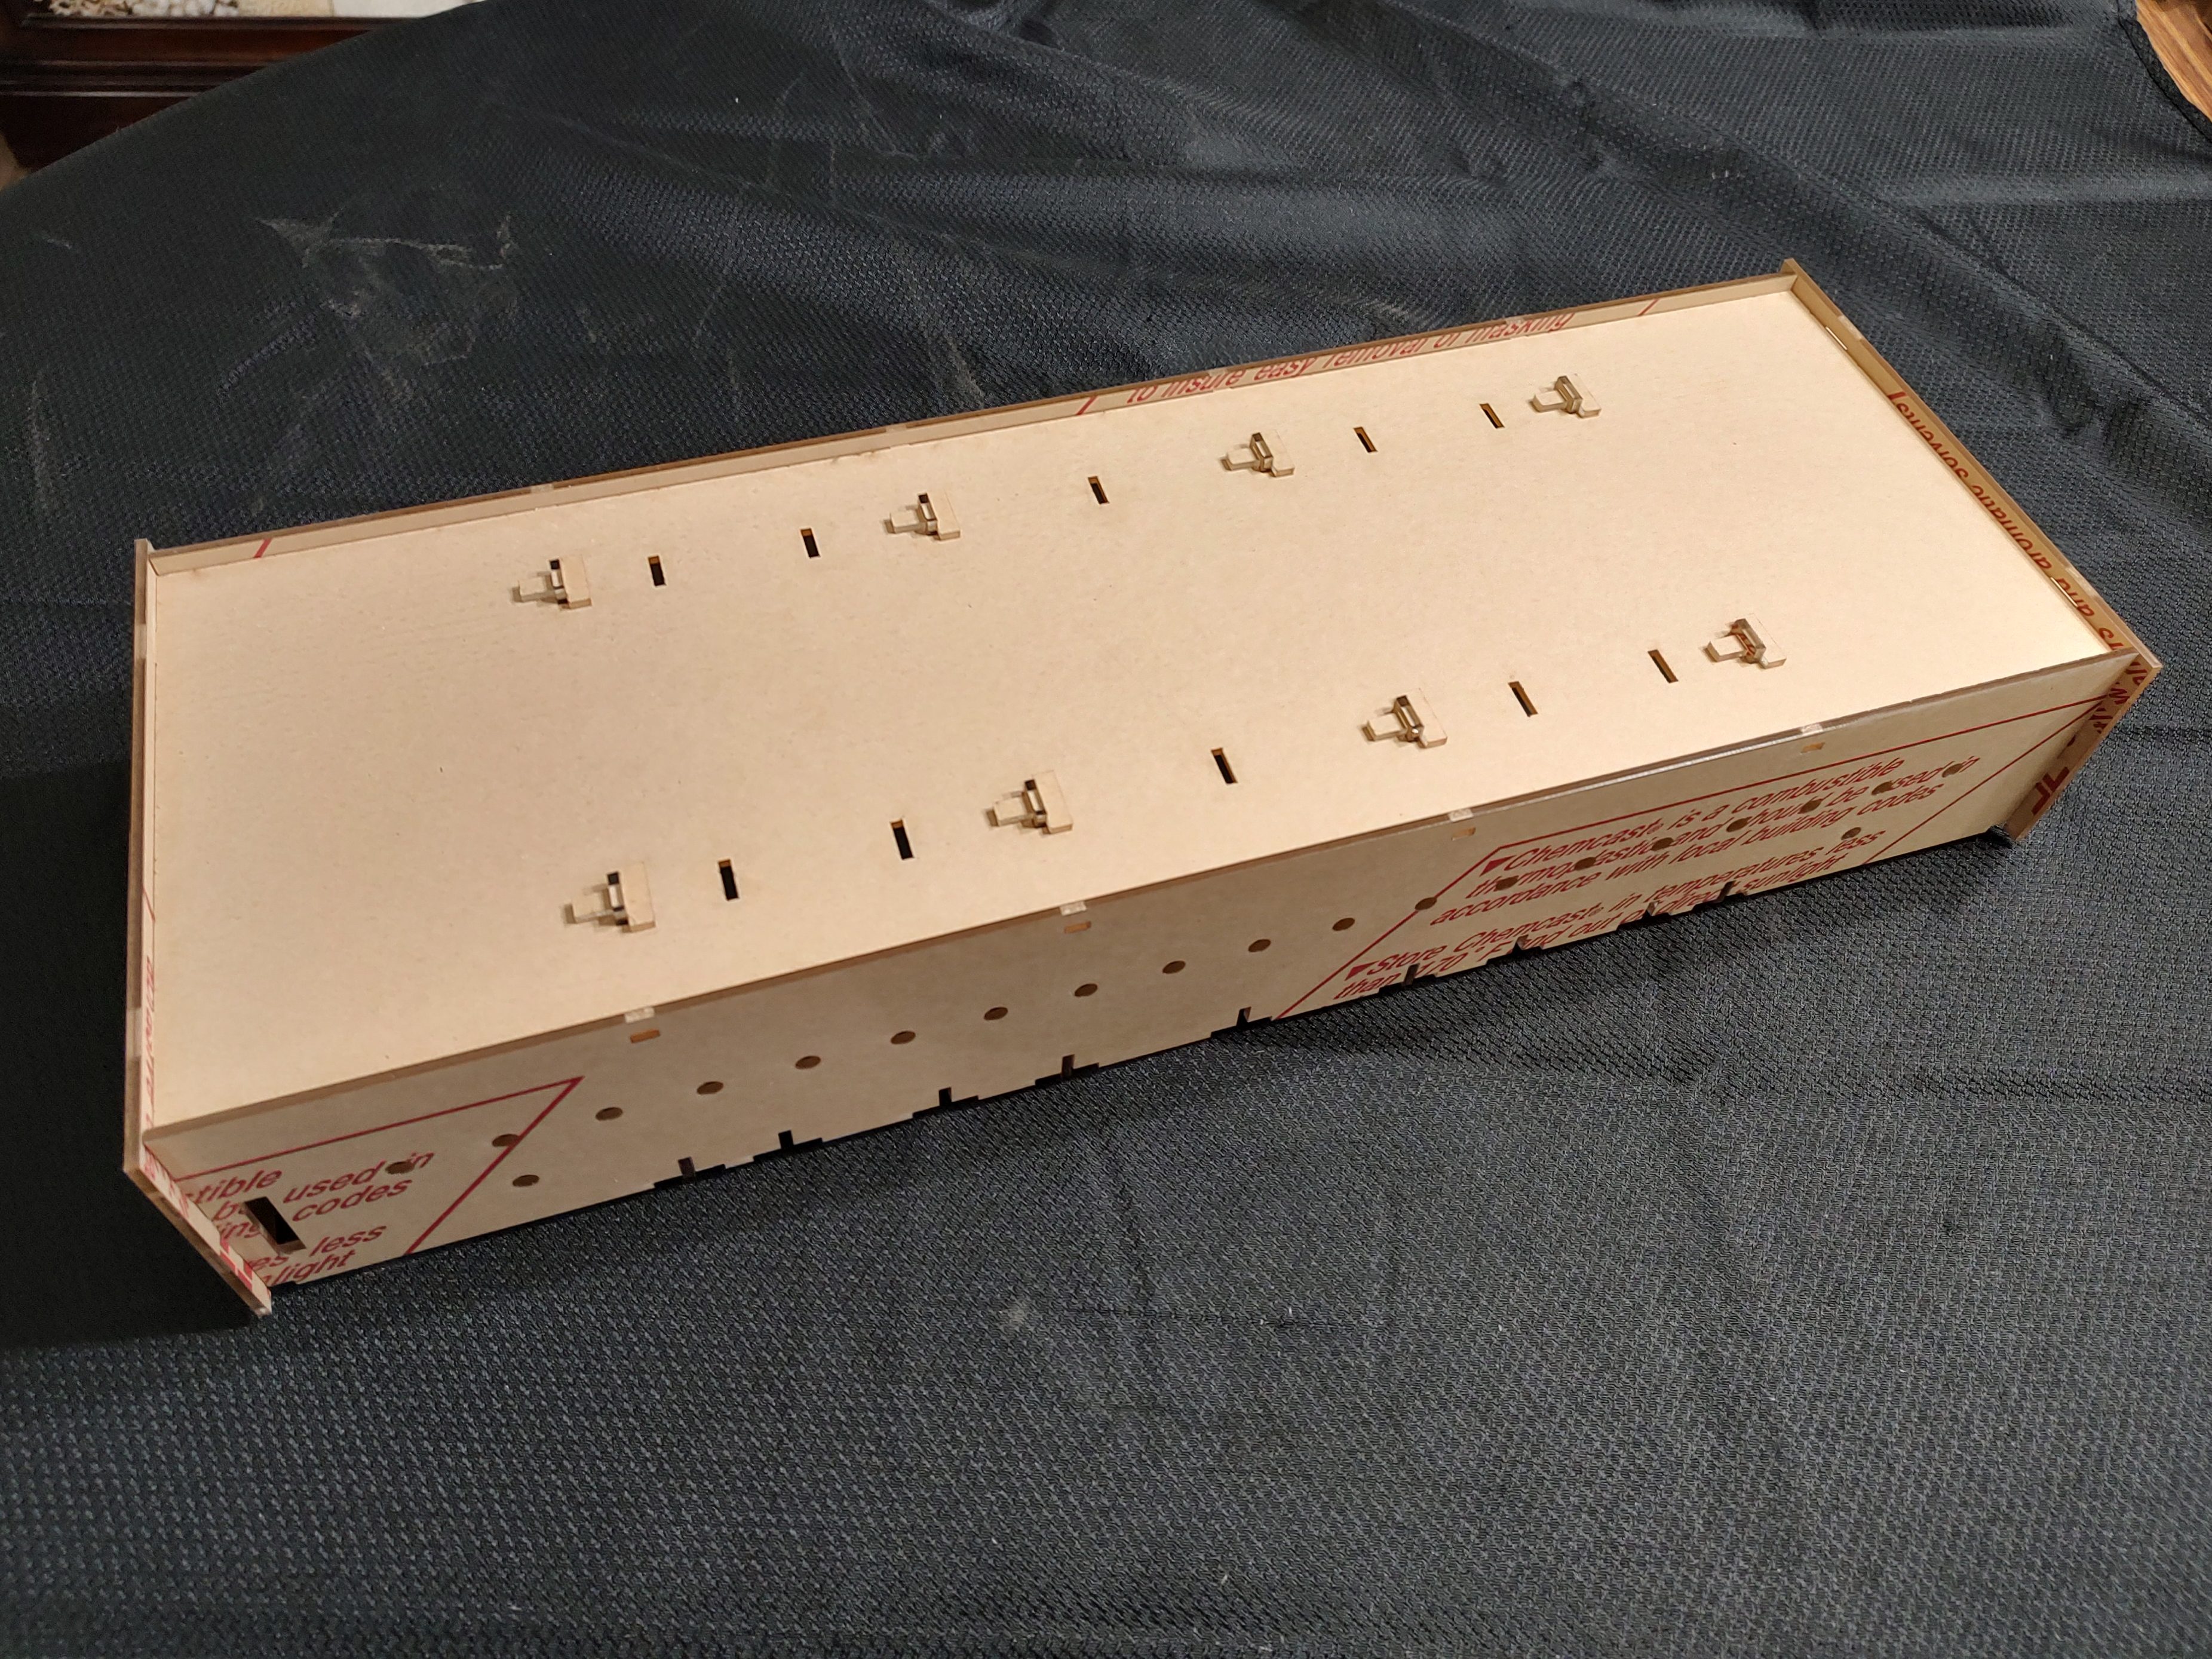
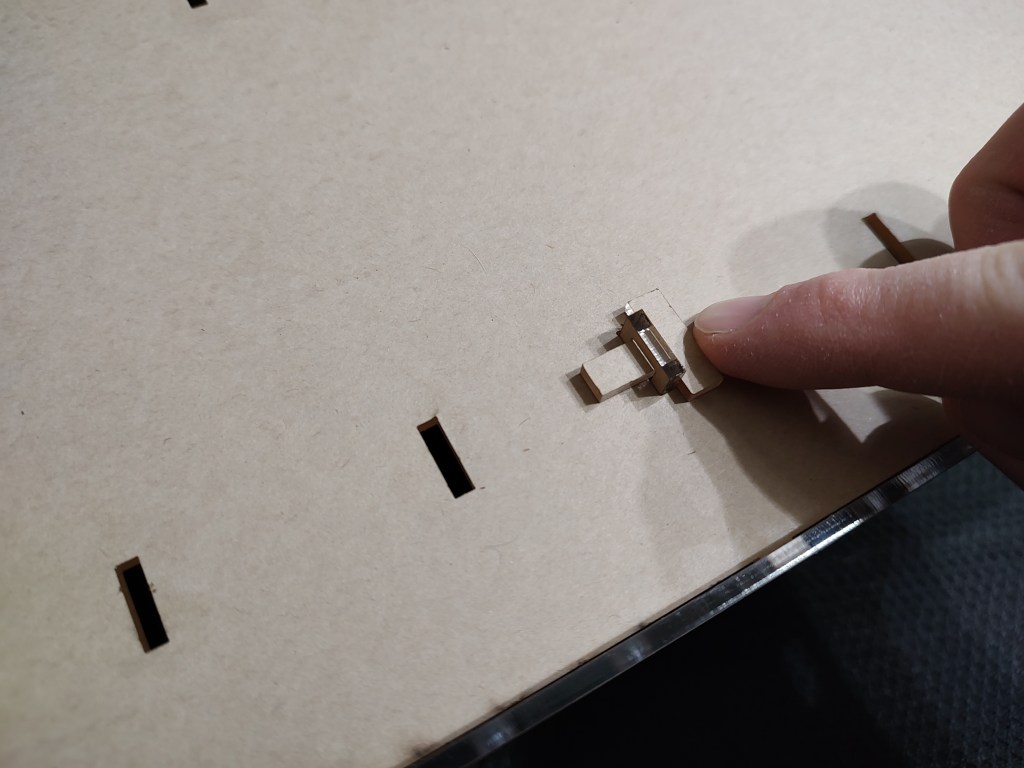
Install the “T” pins between the bottom panel and the bottom of the dividers. These will secure the dividers in place when assembled to prevent escapes. A small piece of tape can be used to keep the pins in place during movement.
Step 10
Assembly is complete!

